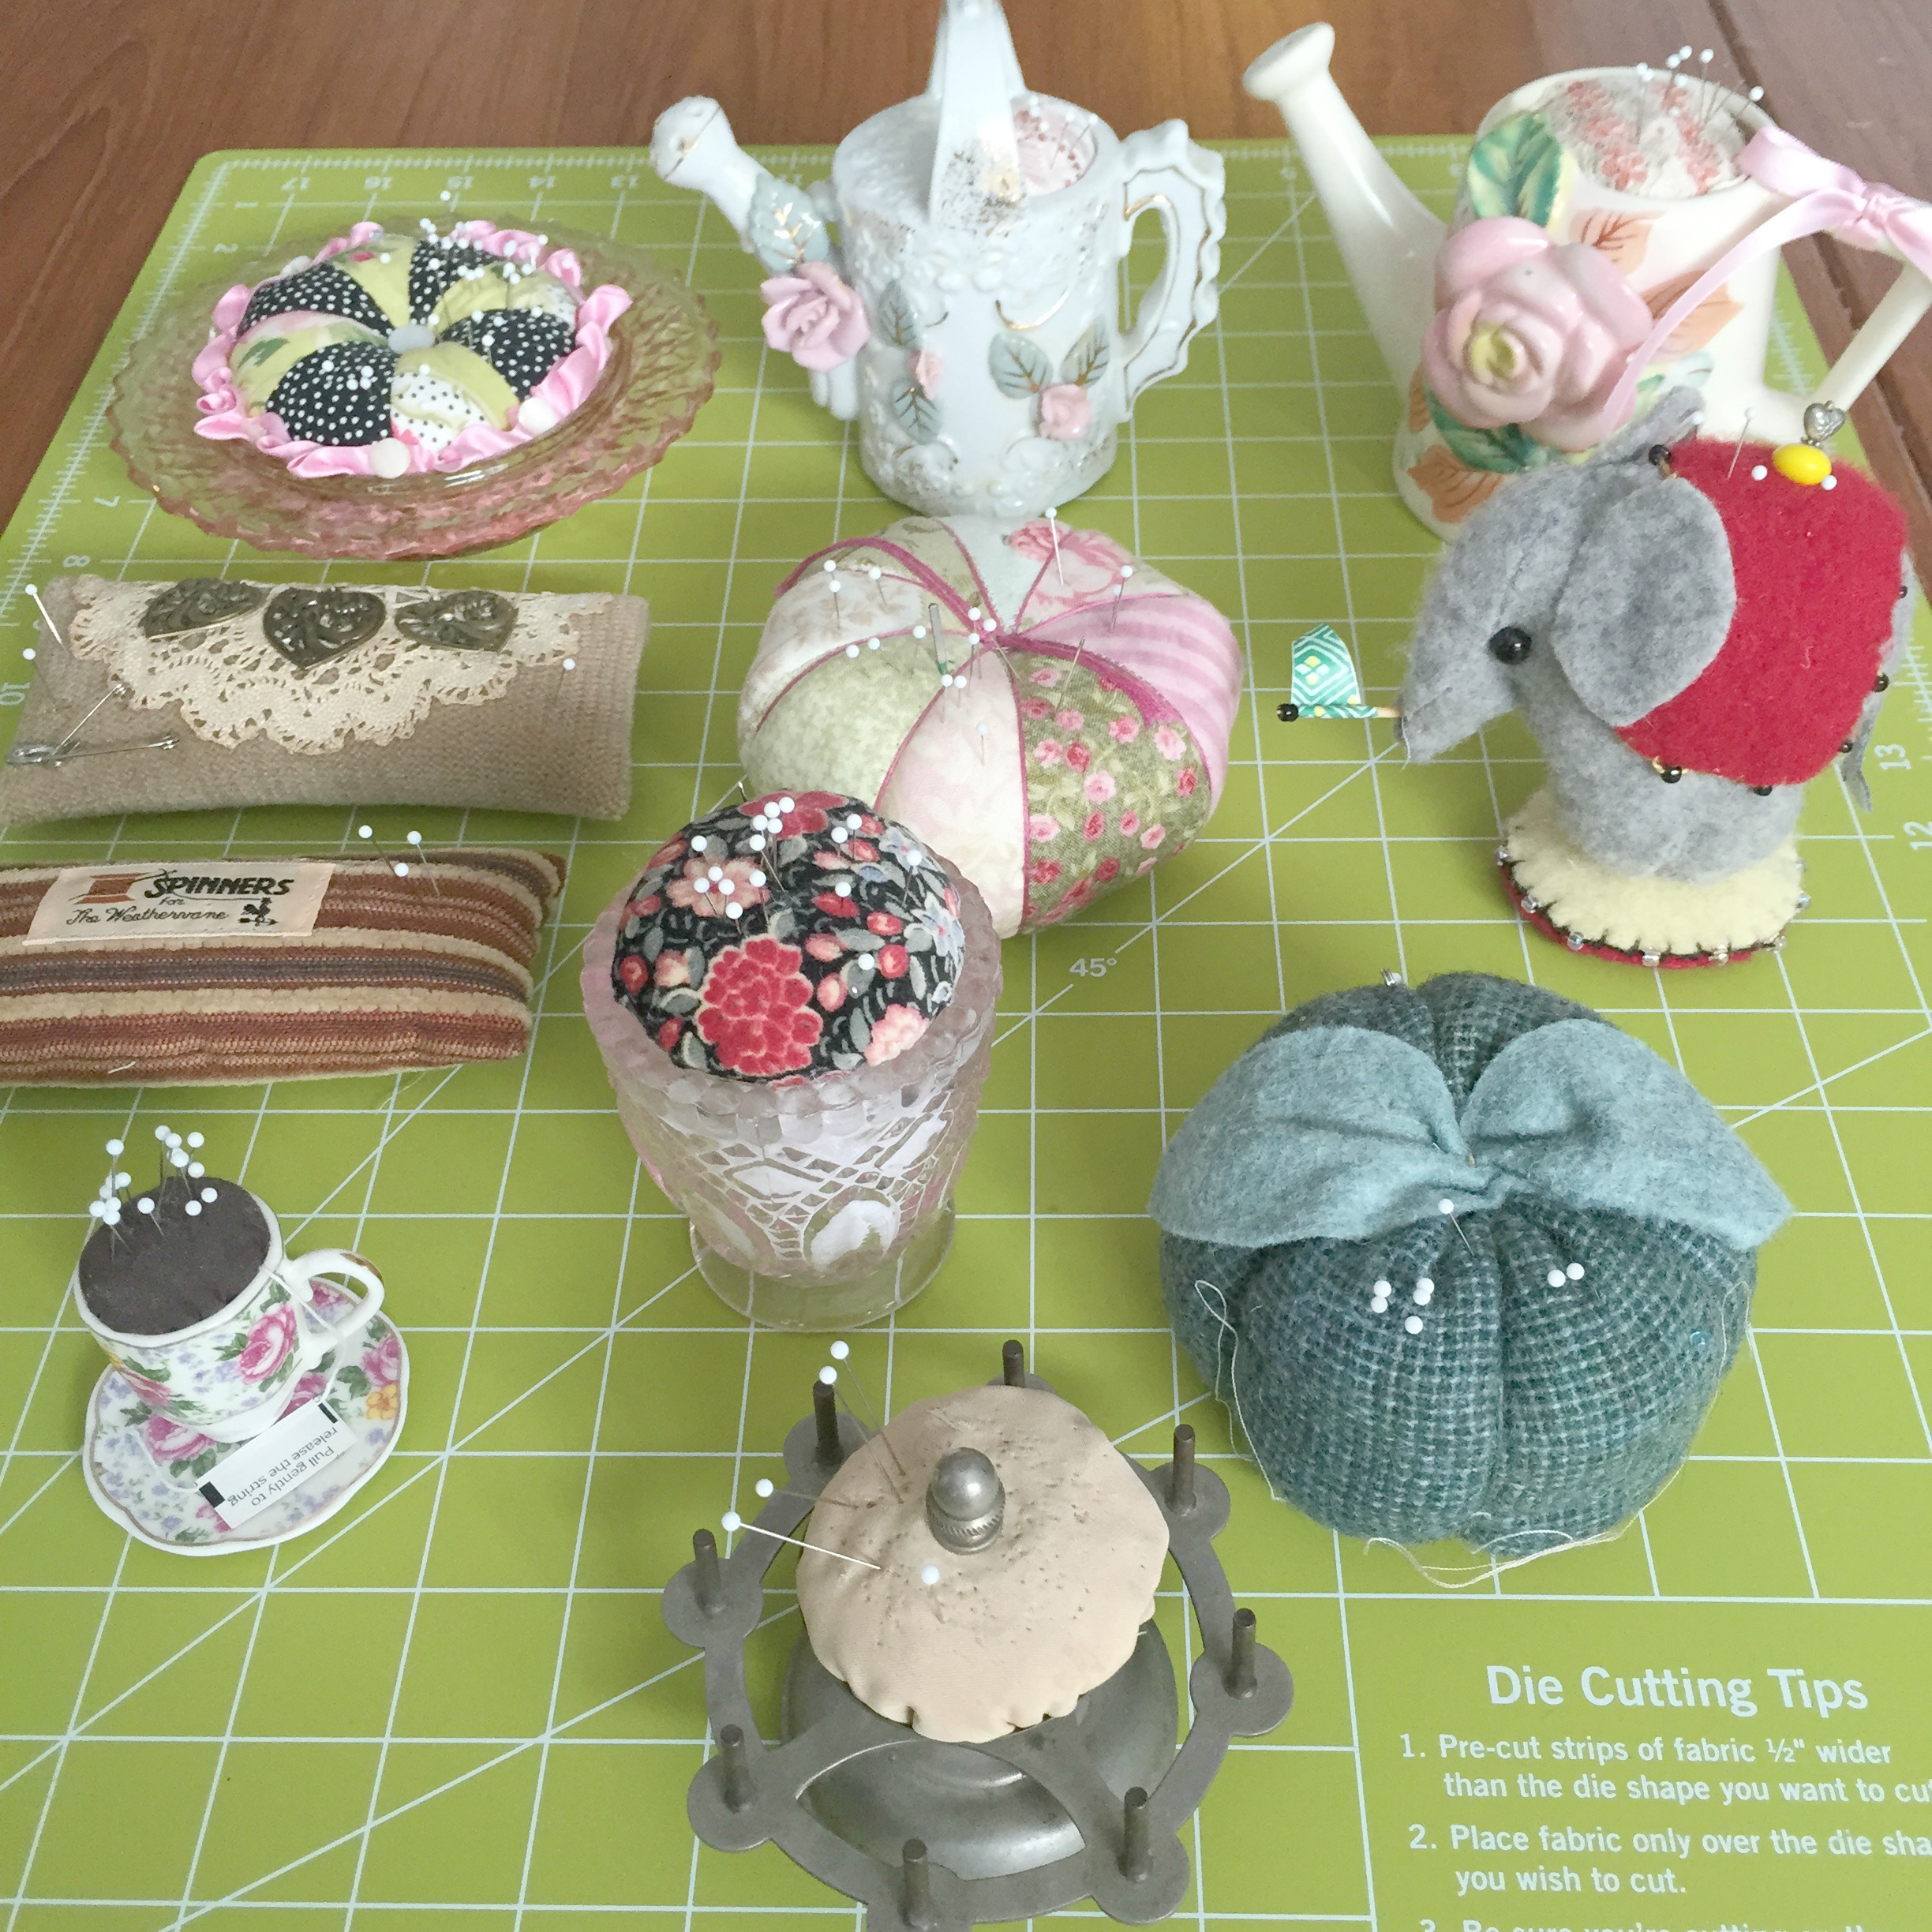
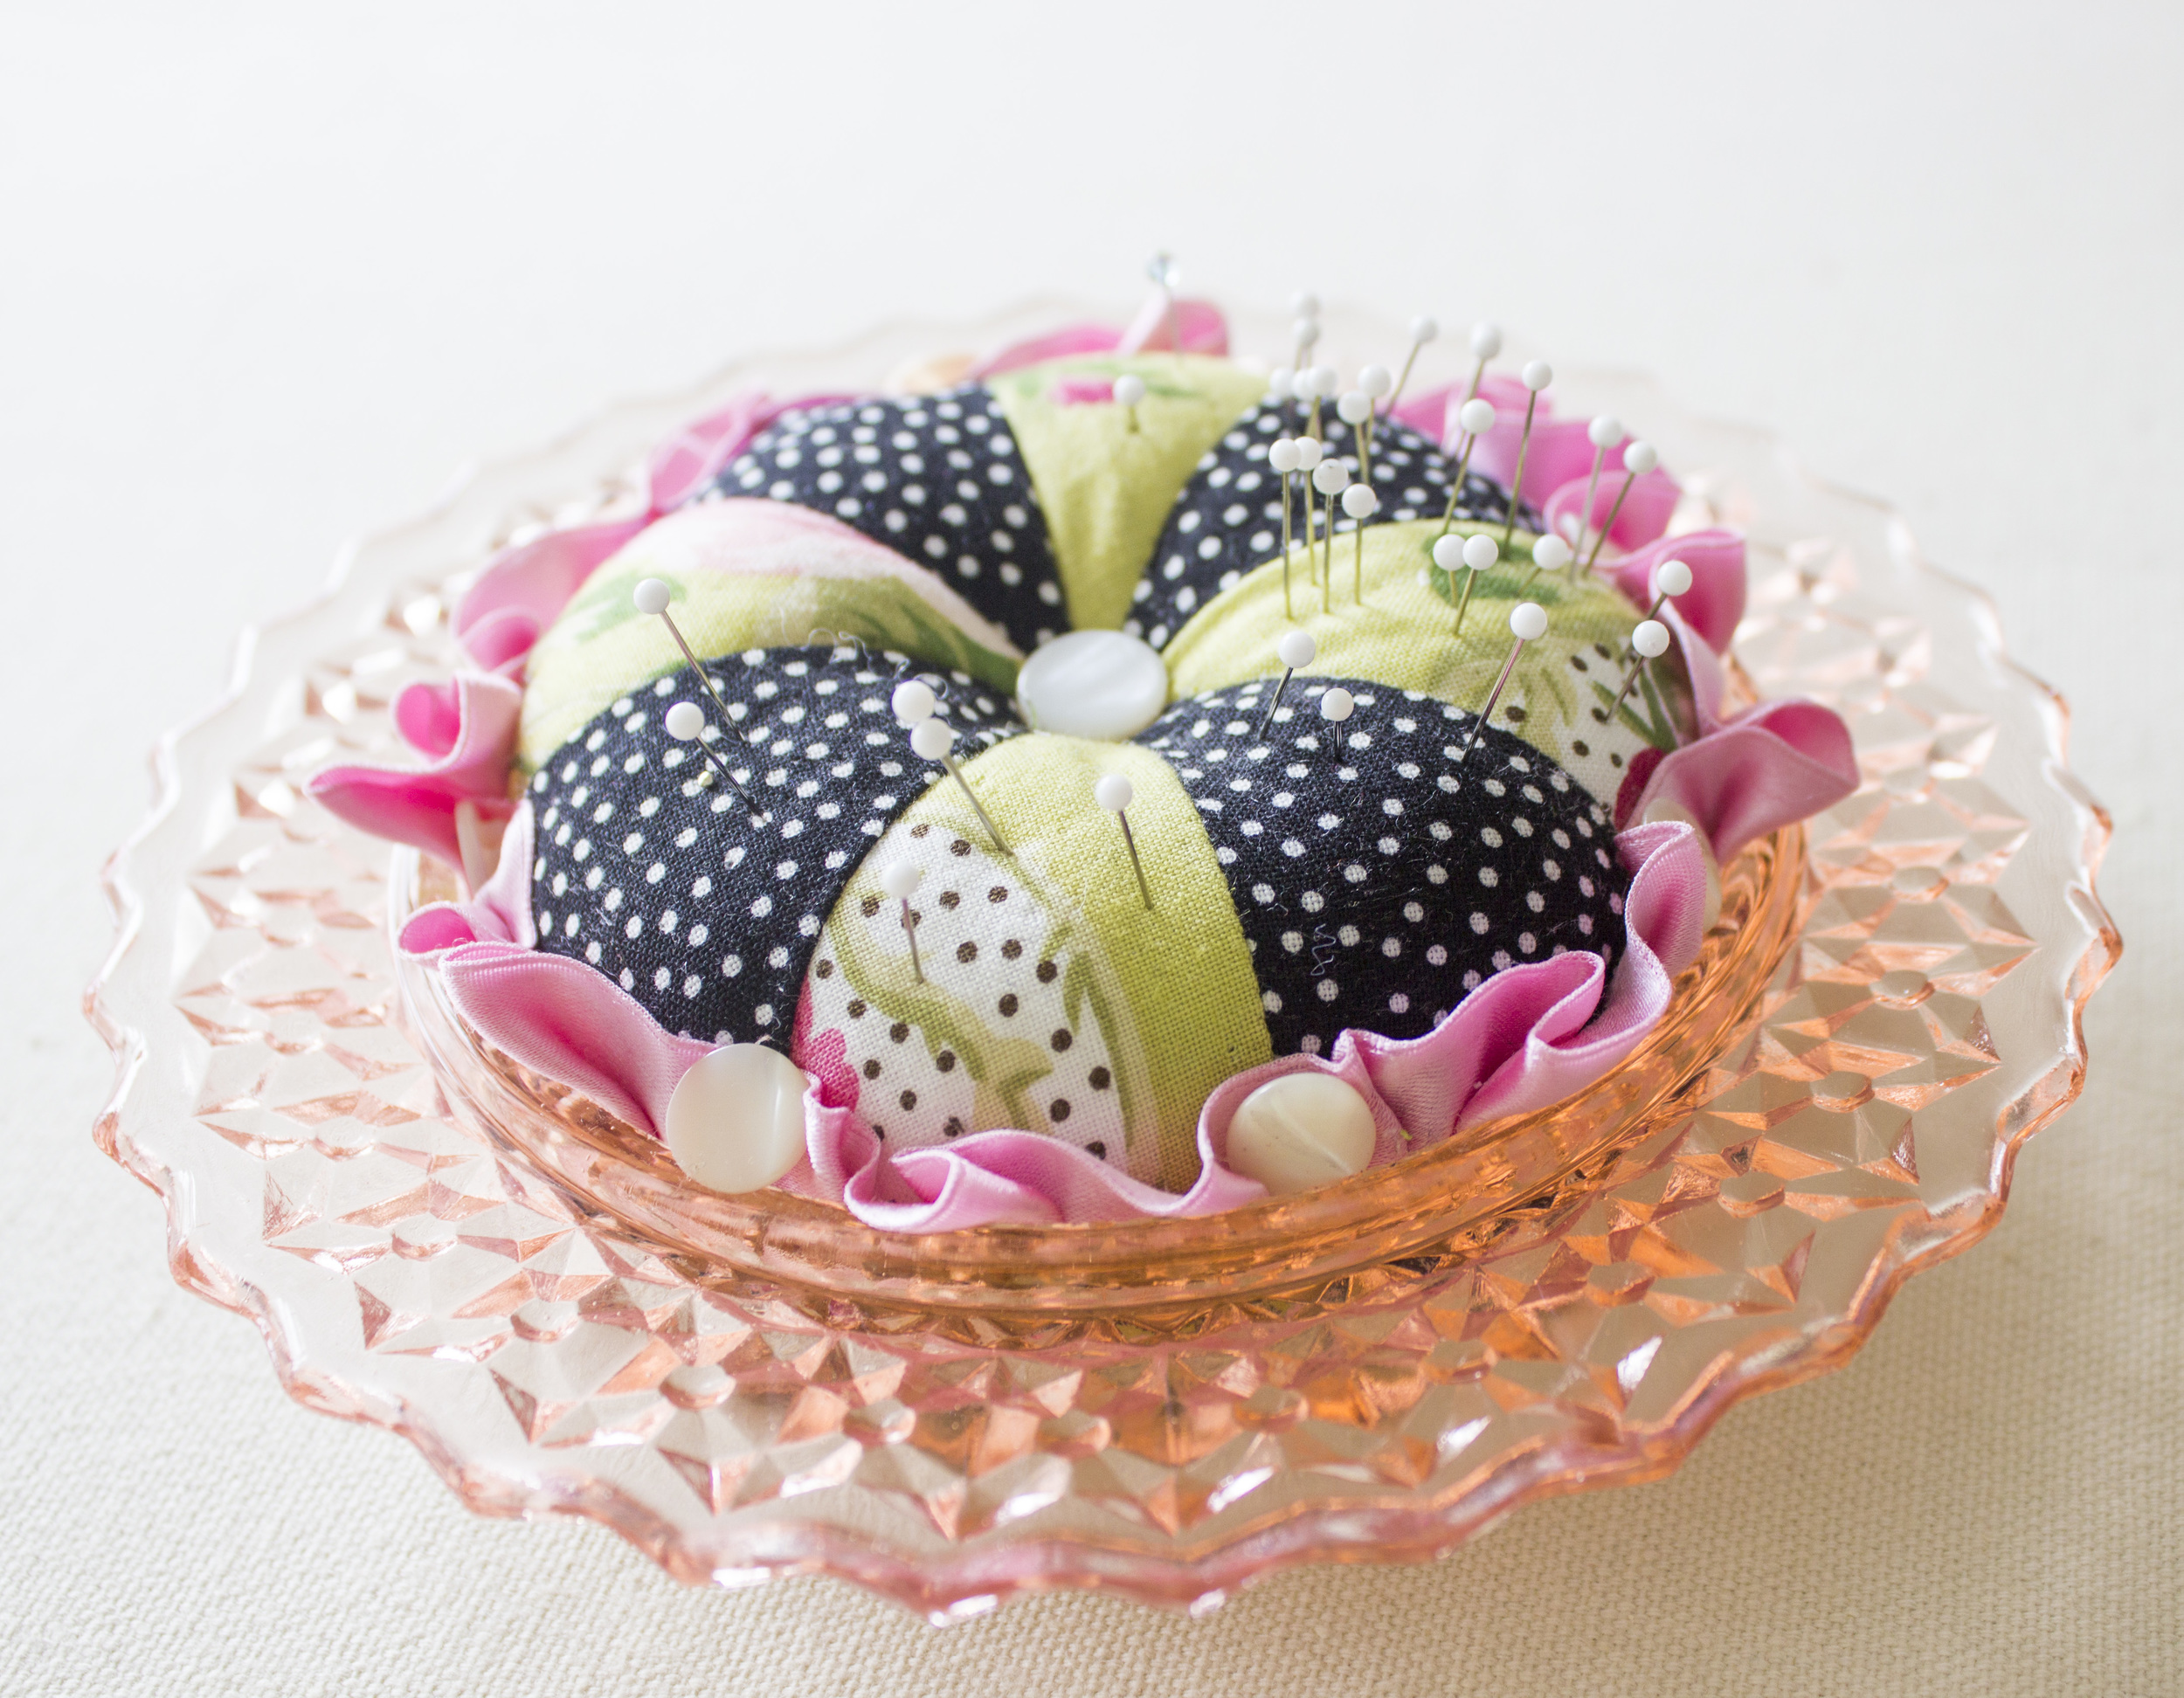
You know that feeling when you hold an object in your hand that you’ve made. Some things are distinctive, and you know how that feels, too. Like this little pincushion. It's an unconventional memorial, I know, but this pincushion is dedicated to the memory of my father, who passed away March 12. As I share a little tutorial, let me also share why this is for Dad.

Juicy Goosey Paper Pieced block from Jeli Quilts
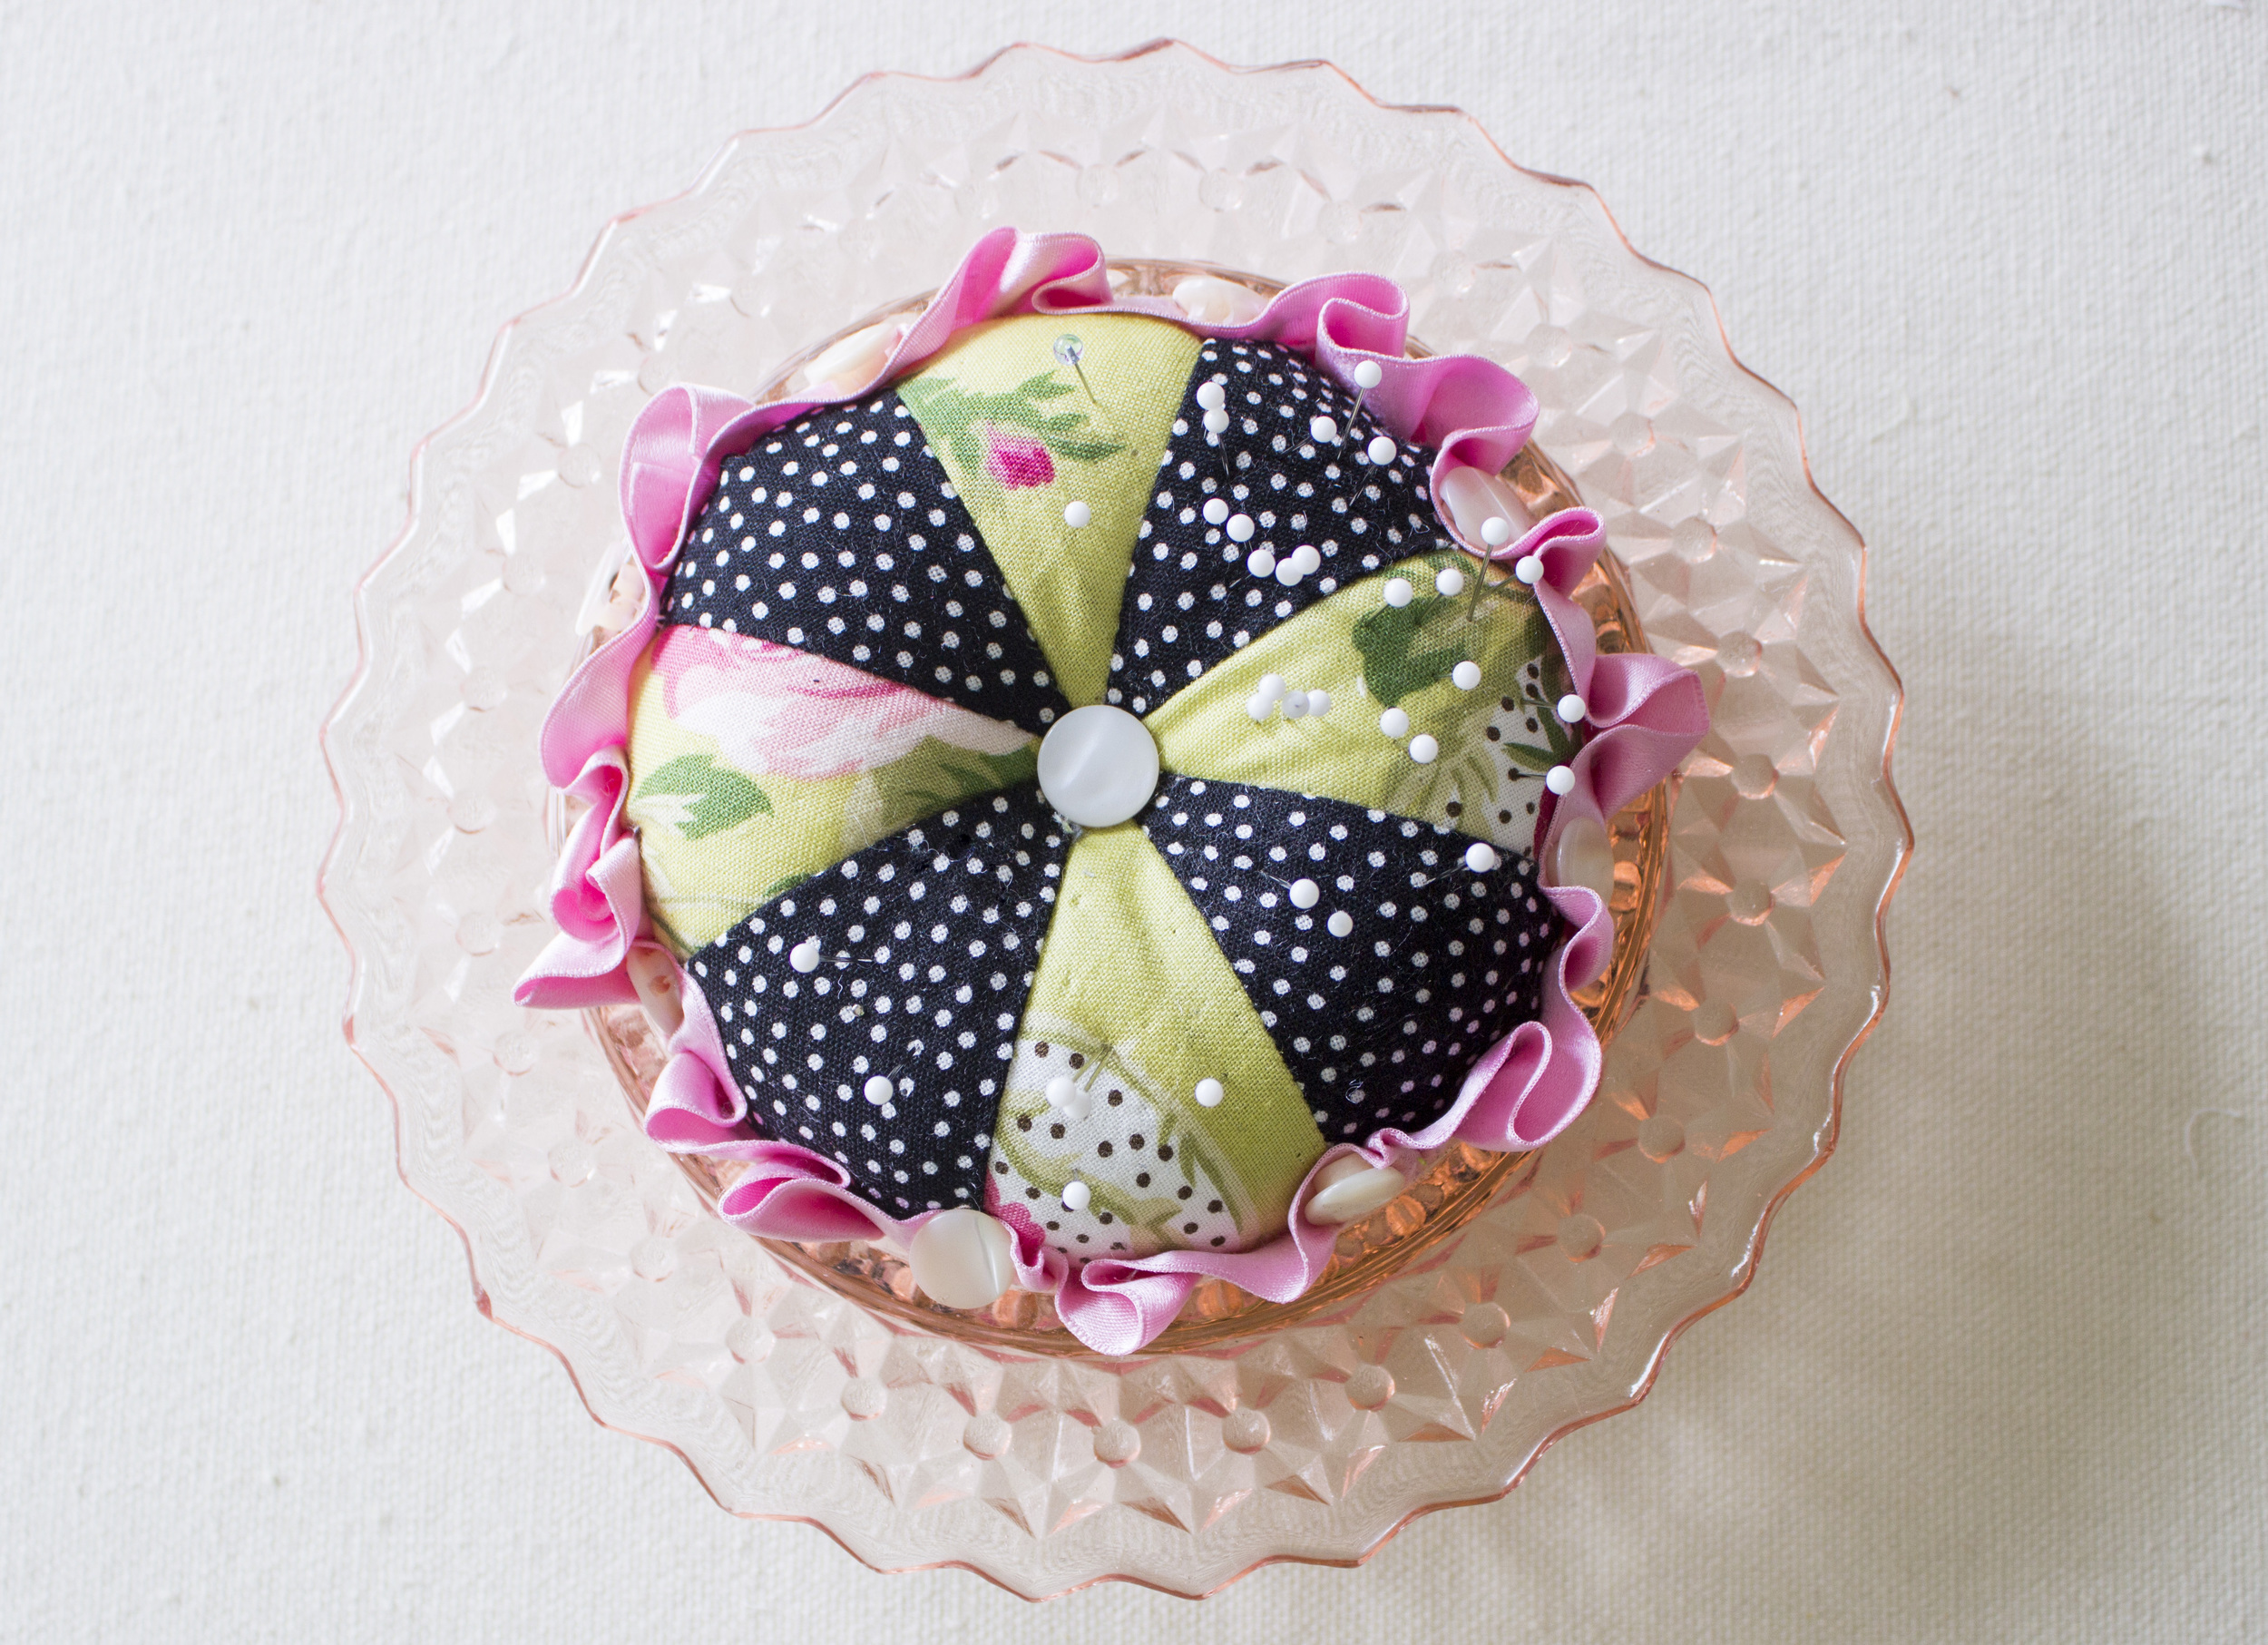
The pincushion came about because of a challenge hosted by my local Modern Quilt Guild. I ended up with all the solids shown, and we were instructed to make something using them all plus one additional fabric of our choosing. I chose Tim Holtz' Dictionary print as a background, and decided to check off a paper pieced block I'd been longing to make: Juicy Goosey, designed by Jeli Quilts.

Even though I have sold about 12 bolts of this particular fabric in my quilt shop, I had never read the words on the dictionary fabric. But as I began to piece the tiny 2" sections, I noticed the word "memory" landing in my focus over and over. Each time I saw it, I thought of Daddy, who had been in memory care for several months before he passed. The entire project stirred up so many memories of him, and I thought of him every minute I sewed. Lots of minutes...

Memory care is hard. Hard on families, hard on caregivers, but hardest on the sufferer. Although Dad never forgot who his family was, the only other thing he could remember was that he was not with Mom. They had been separated for six months because my mother had sustained brain trauma in a car accident, requiring full time skilled nursing care. I brought her to North Carolina to be near me, but dad remained in Georgia while I worked out his transfer to my town. When I finally was able to bring him to North Carolina, I arranged a meeting with mom. It was the sweetest day. Dad was strong for the 30 minute ride to Momma's facility. Every day for six months his only goal had been to get to Mom, and this day had finally come to fulfillment. Their visit was beautiful; they were both so happy, embracing while the family and nurses watched and cried. Mom's doctor said it was "the most touching scene of love and devotion he had ever seen".

Thought you'd like to see the back side. Mmmmmhhhhhmmmm.
It took just about everyone present to get dad to the car to head back to my town, but he finally agreed to leave Mom and we headed back to his home. The next day, Dad wasn't himself. He continued to decline and passed away 10 days after that visit with Mom. They never saw each other again, but Dad spoke of the visit often, and how beautiful Mom was. Hospice felt that he had been holding on to see Mom just one more time. I will always be thankful for that meeting, and for bringing him to my town. I cherish the time spent with him during the last few weeks of his life, and recalling our visits as I sewed this little pincushion has been such a blessing.

I decided to add yellow piping to the top edges around my little block. Baby Lock's mini piping foot made short work of that task, both in creating the piping and attaching it to the edge of the little paper pieced square. I also used this foot when sewing the sides to the block, because the piping stayed right in the groove, keeping the seam straight and close to the piping. Click on the photo, left, to read more about this helpful little foot.
After applying the piping, I attached the sides and bottom. The top of the pincushion measures 4.5", so I cut four sides 4.5" x 2.5". I cut a 4.5" square for the bottom piece.
The sides are attached separately, placing each one on the pincushion top (right sides together) and stitching the seam, leaving a 1/4" seam allowance unsewn at the beginning and end of the seam (as shown in the first photo, below). Be sure to secure the seam with a knot or back stitch at each end. Sew all four sides on. Next, sew the short sides together, leaving the 1/4" seam allowance unsewn at both ends in the same manner (last photo).

The bottom is sewn on in the same way, leaving about 2" unsewn on one side for turning and stuffing. Slipstitch closed.

So, Daddy, every time I use my pincushion I'll be thinking of you. Thank you for all you meant to me. I walked into Momma's room the other day to find her clutching your photo to her heart. I promise to take care of her until you're together again and never have to be apart.
Thank you for
- Never telling me that I sewed the buttons and buttonholes to the wrong side of your shirts I made for you. You wore them proudly.
- Surprising me with money for the expensive puppy I wanted.
- Believing that I could sing, and buying me a guitar. I pushed through the lessons, mostly to please you.
- Lots of airplane rides, and even one glider ride. You were a great pilot and I always felt safe.
- Loving my peach pie.
- Letting me bring you a bowl of ice cream and cookies every night to the sofa. (How did you stay so thin?).
- Making a cradle for my baby, and beautiful fabric display tables for my quilt shop.
- Driving me to church every Sunday without fail when I was a teenager. Oh, how I wanted you to go to church with me.
- Giving your life to the Lord, finally.
I could go on and on. I'll love him forever.
Thanks for visiting. Happy sewing and God bless! Maxie