
Binding your quilt. Almost finished. Wish I was finished so I could start on another quilt. Shortcuts aren't always called for or even desirable, but sometimes, when they are befitting, they are so refreshing! So today, I'm going to show you a great shortcut for your quilt binding that works wonderfully on those quilts that won't be judged in a show, or passed down as a family heirloom. But for the quilts that are loved, used and washed, over and over again, it just makes sense.
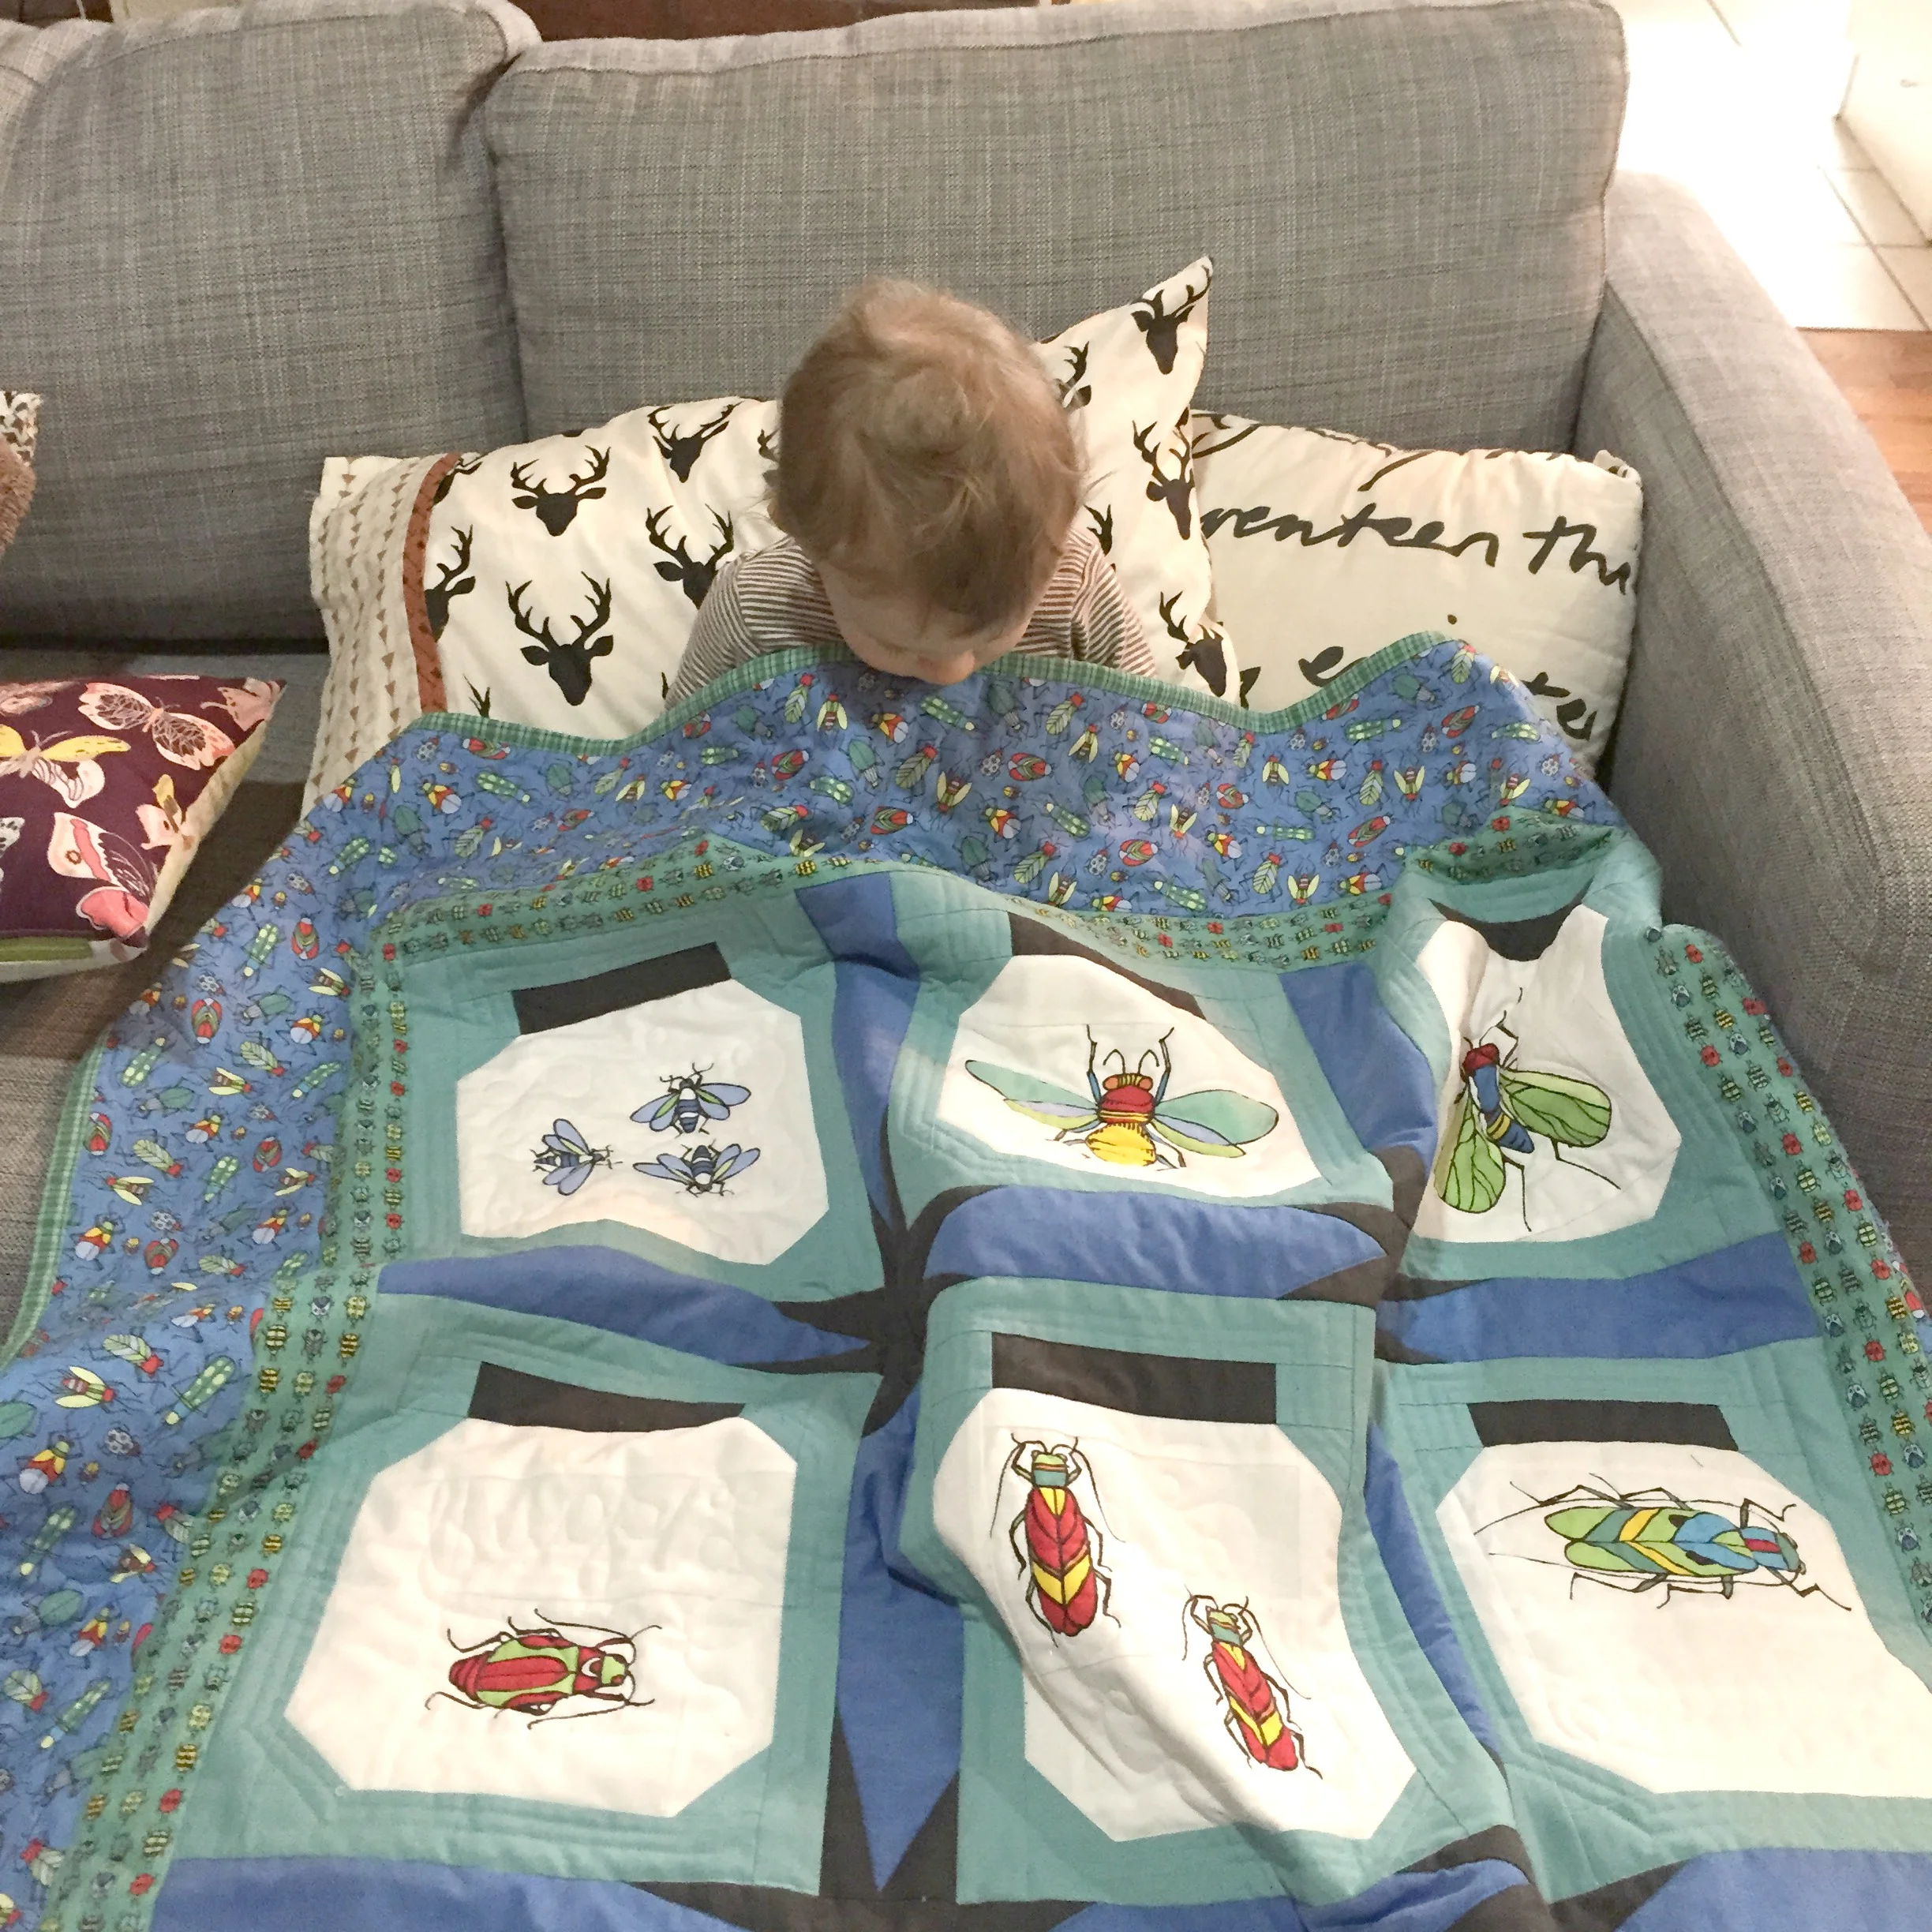
The quilt I'm showing you is one that I made for my grandson, Bear, and you've watched the progress of it along the way. Now it's time to bind it! I'm going to simply use the backing as the binding. It's an easy technique, with just a simple little trick of a fold in order to miter the corners properly.

After quilting your quilt, trim the excess batting away. (Above left.) Applique scissors are very helpful for this and prevent accidentally cutting into your backing. Next, trim the backing away, using a rotary cutter and ruler edge placed 1" from the edge of the quilt. (Above right.) Trim all four sides.

Next, working with one side at a time, press the 1" backing edge in half. (Above left.) Press it in half again. (Above right.) Pin in place to the quilt.

The corner fold is very important to your finished outcome, and it's very simple. In the left photo (above), the right side of the binding has been pressed over twice and pinned in place to the quilt. The top edge has not been pressed. Fold the top edge over so that the folded edge is in line with the quilt edge. The white dashed line indicates the fold you need to make. Press well to hold it in place. You will make one more fold (above right), to bring the raw edge of the backing to the edge of the quilt. The white dashed line in this photo indicates this second fold. Press well.
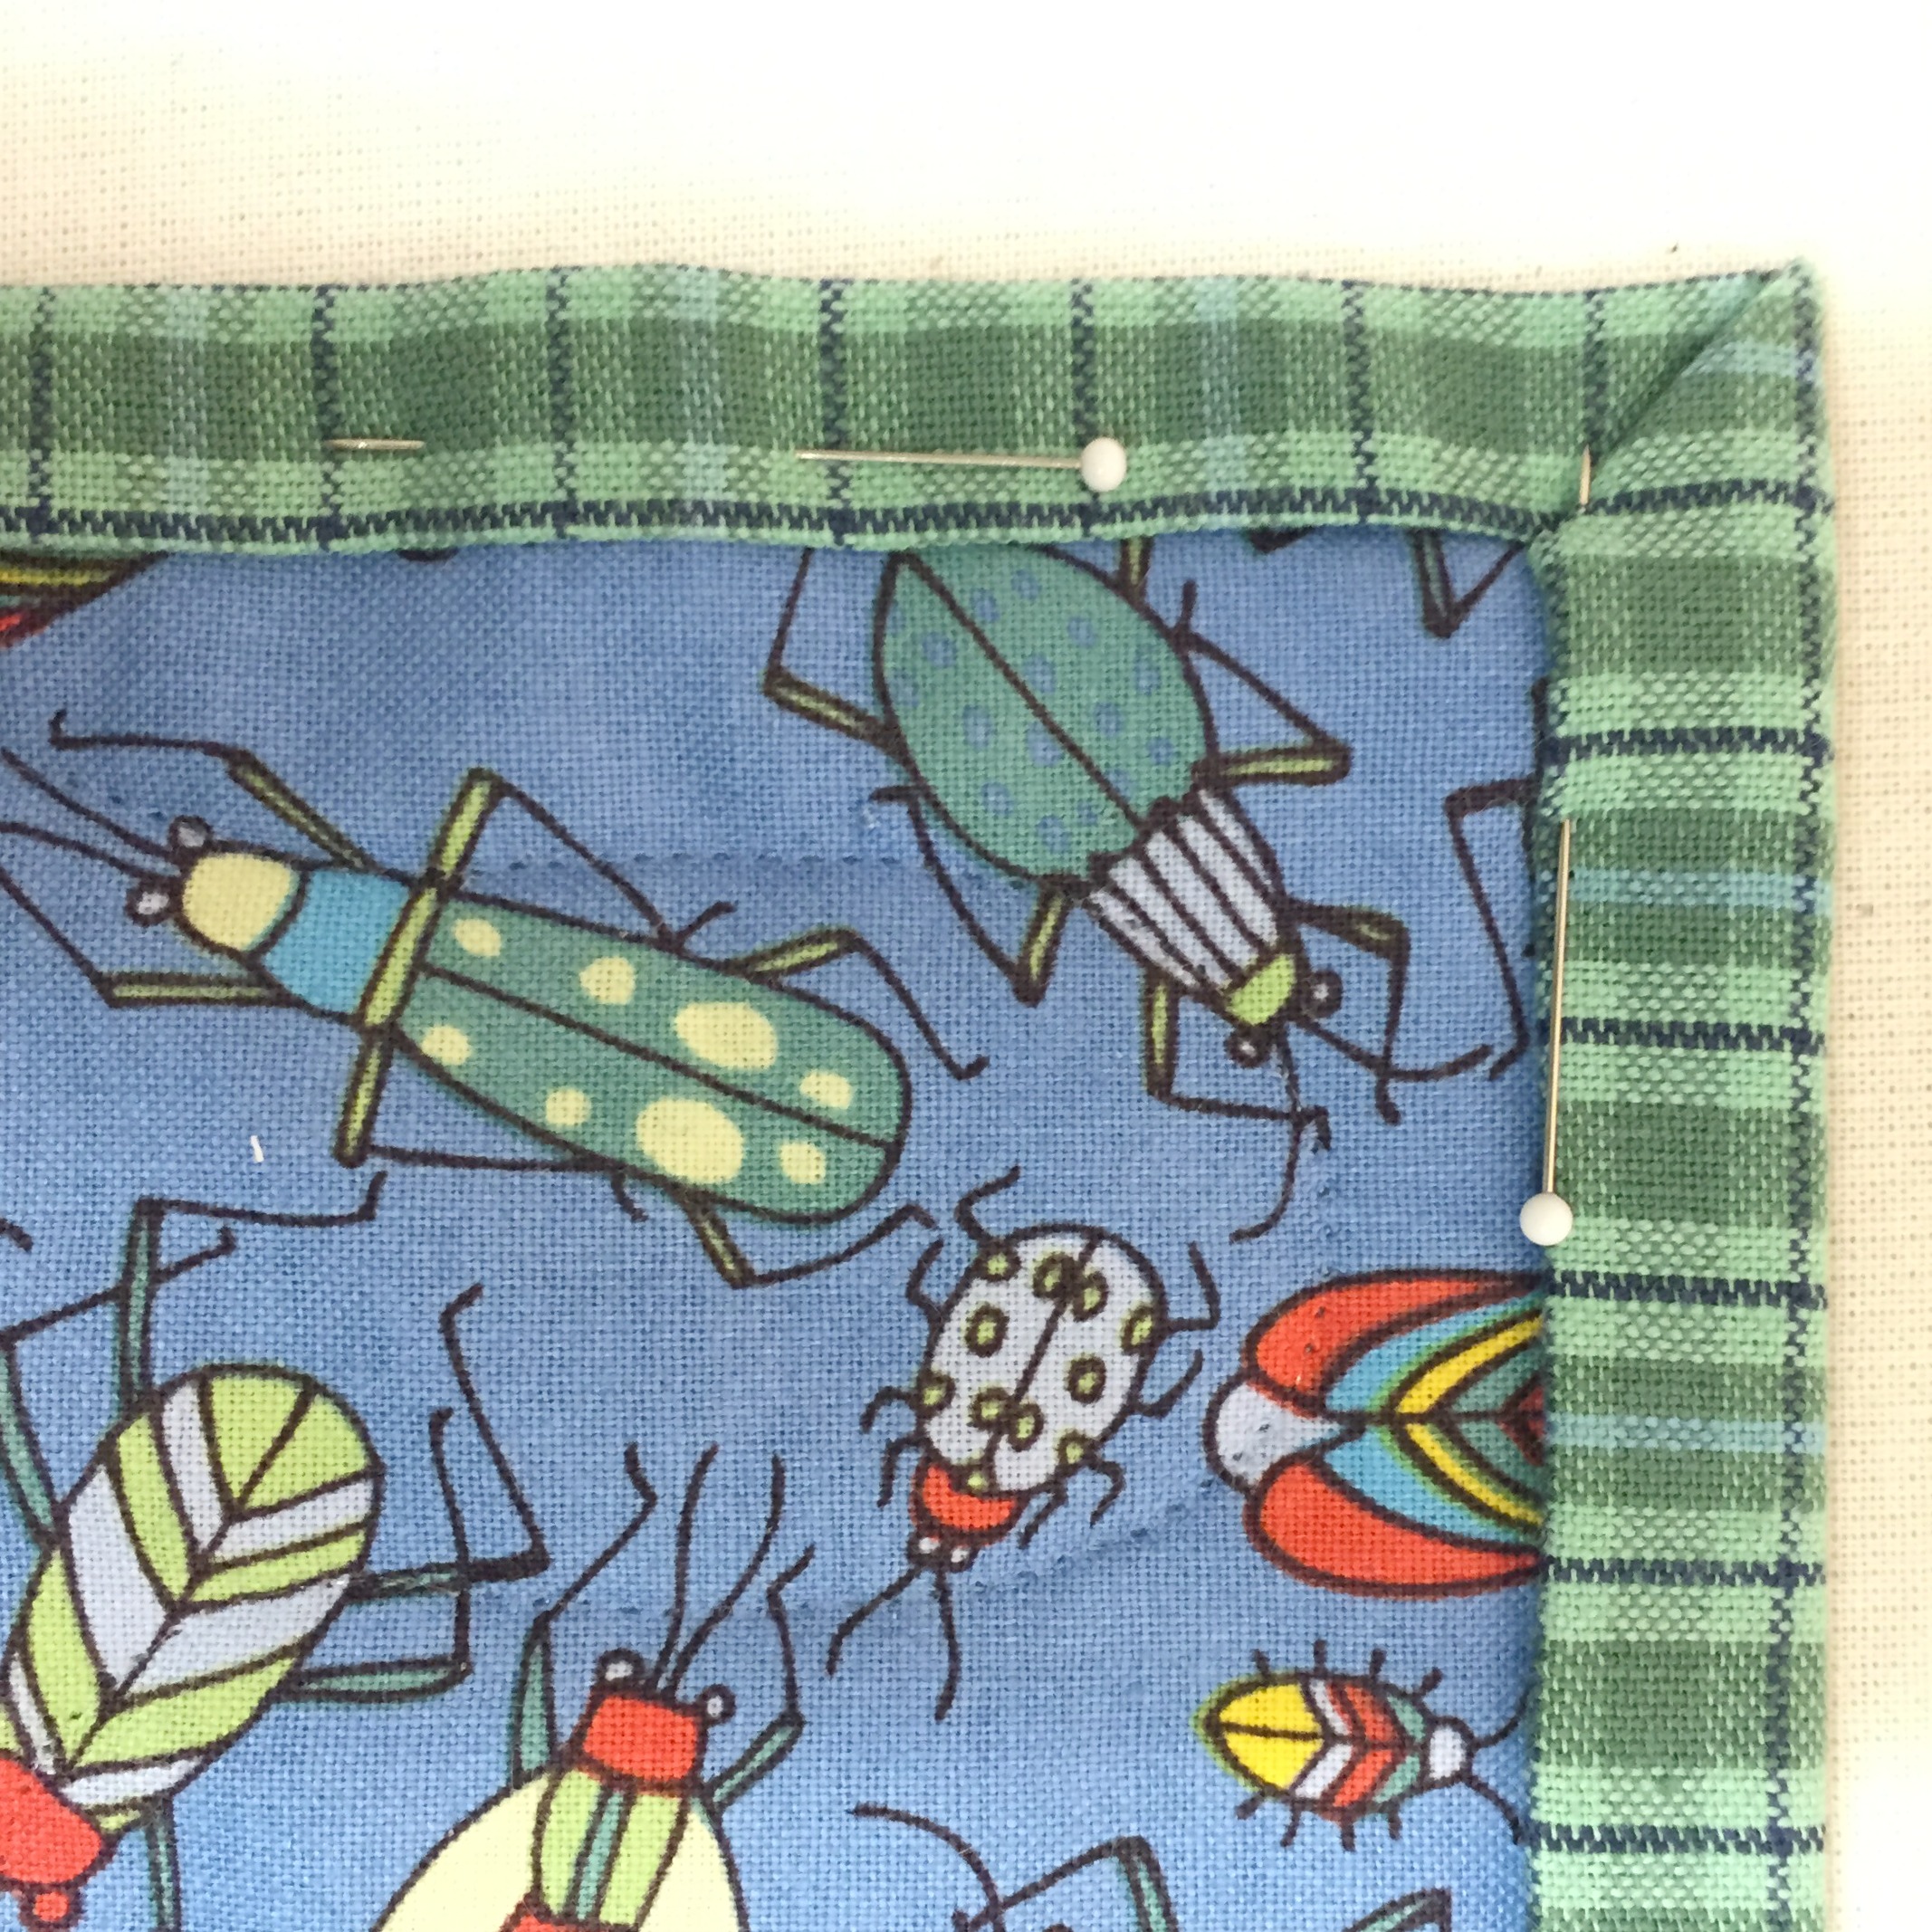
Fold the edge over onto the quilt, and the corner will be perfectly mitered! Pin in place. Repeat for the remaining three corners.

Stitch very close to the edge of the binding, removing pins as you stitch. A walking foot is very helpful for this step. (Above left.) Just look how nice! Now, give it! (Yes, Bear did love it!)
Thanks for visiting! Happy sewing and God bless! Maxie
