
I made another bag...and this one is for me! I made sure of that by embroidering my monogram on it so that one of my daughters couldn't 'call' it. (I'm not sure where that started, but if they want something of mine, they think that the first one who 'calls' it gets it.) Since their initials are different from mine, this bag is safe in my arms! Today I want to share a new way of making handles...the way they attach might surprise you, and I have an embroidery tip for you!

The pattern is the Perfect Whatever Bag, designed by my daughter, Bonnie Christine and me. I've posted in the past about this free, downloadable pattern, but today called for another post because of the new variations. This bag pattern is so versatile. If you make it, please send me a picture of your version! I used a canvas border print (I yard, 60" wide) for both the inside and outside of the bag, flipping the lining so that the blue check was at the top inside of the bag. See the pattern for cutting measurements and instructions.

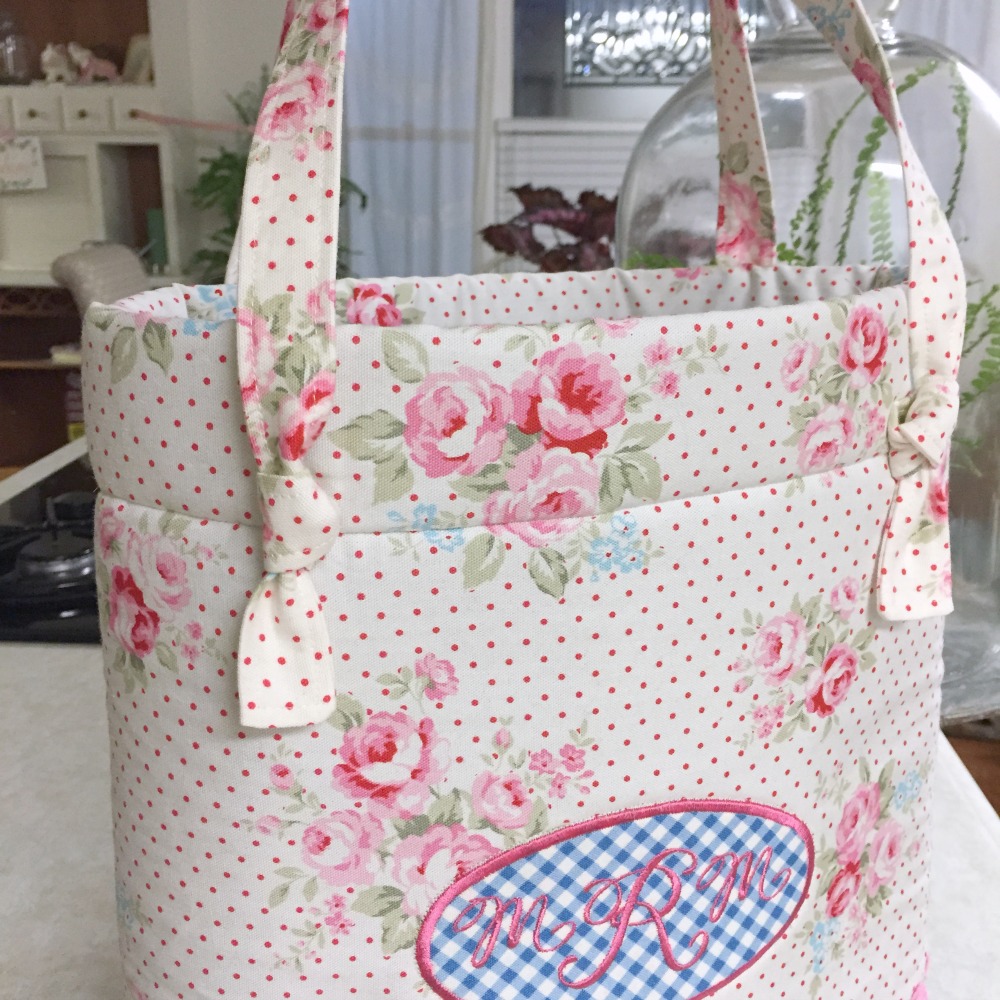
I decided to monogram the bag with an applique´ made from the leftover scrap of blue check fabric. It fit just perfectly! I monogrammed a sample first, and discovered that the tearaway stabilizer made a perfect template for placement of the final monogram. I simply creased the center of the fabric and stabilizer and placed the creases together to find the exact center.

I love my Baby Lock machine... Love the font? I found it here.
And I just had to sew a little ric rac trim on, right? Pink, please.

So, from here on out you'll just follow the instructions in the aforementioned free downloadable pattern. Except for the handles. Since I didn't have any leather pre-made handles on hand, I would have to make them. I wanted a very fast and easy way to make and attach them, too, because my Saturday was running out. This method sort of just happened without a master plan, and I loved them in the end!
To make the handles:
- Cut two 2 1/2" x 27" strips.
- Fuse a lightweight stabilizer on the wrong side.
- Sew them into a tube, sewing the ends closed and leaving a 2" opening along the center area for turning.
- Turn each end right side out through the center opening. I used a tube turner for this step.
- Press well and topstitch around all the edges, stitching the opening closed.
- Measuring 3" in from each side of the bag and about 1.5" down from the top, make a mark for placement.
- Pin the handles in place as shown in the photo below. Stitch from top to bottom, as indicated by the black arrows. I stitched twice to reinforce the handle attachment.
- Tie the end of the strap in a half knot by holding the strap up in the center and wrapping the short end over, around and down through the loop. Pull snugly to form a knot.

9. Love it! Sturdy handles, easy and fast. Saturday even still has some daylight left.

Thanks for visiting today! Happy Sewing and God bless! Maxie
