
I posted this photo of my ric rac quilt binding on Instagram and Facebook this past weekend, and received some requests for a tutorial! Here ya go...!

It sure made a sweet little edging on this quilt, and it was so easy to do! (If you need help with bias binding, refer to last Friday's post.) The photos below demonstrate the technique on a pot holder, but it is applied exactly the same on a larger quilt. This ric rac is about 1/2" wide, and fits perfectly in the binding's seam allowance. If you use a different size, just adjust the alignment of the edges (as described below). I use a separate piece for each side so that I don't have to fold it in the corners. This makes for a neater corner with less bulk. Click on the images below to enlarge them.
1. The first photo shows the rick rac placed even with the edge of the quilt. Let the ends extend a bit past each corner; it will be trimmed later. Cover the ric rac with the binding, placing it as you normally would when attaching it to your quilt. I don't find it necessary to pin or baste the ric rac in place, even on a large quilt. A walking foot is helpful. My Baby Lock's belt-driven walking foot (available for several models) does a super job of keeping all the edges even!
2. Stitch in place, stopping every few inches to make sure the ric rac is still sandwiched evenly, and at the edge of the quilt. Stop sewing a little more 1/4" from the end at the corner. This small amount of extra distance is helpful when slipping in the next piece of ric rac, and it doesn't affect the miter.
3. Lift the binding and place another piece of ric rac on the next side, making sure the edges extend past each corner.
4. Miter the binding as you normally would.
5. The ends of the ric rac will extend beyond each corner. After stitching all four sides, trim the ends away, removing as much bulk as you can. Be careful that you don't accidentally cut the binding!
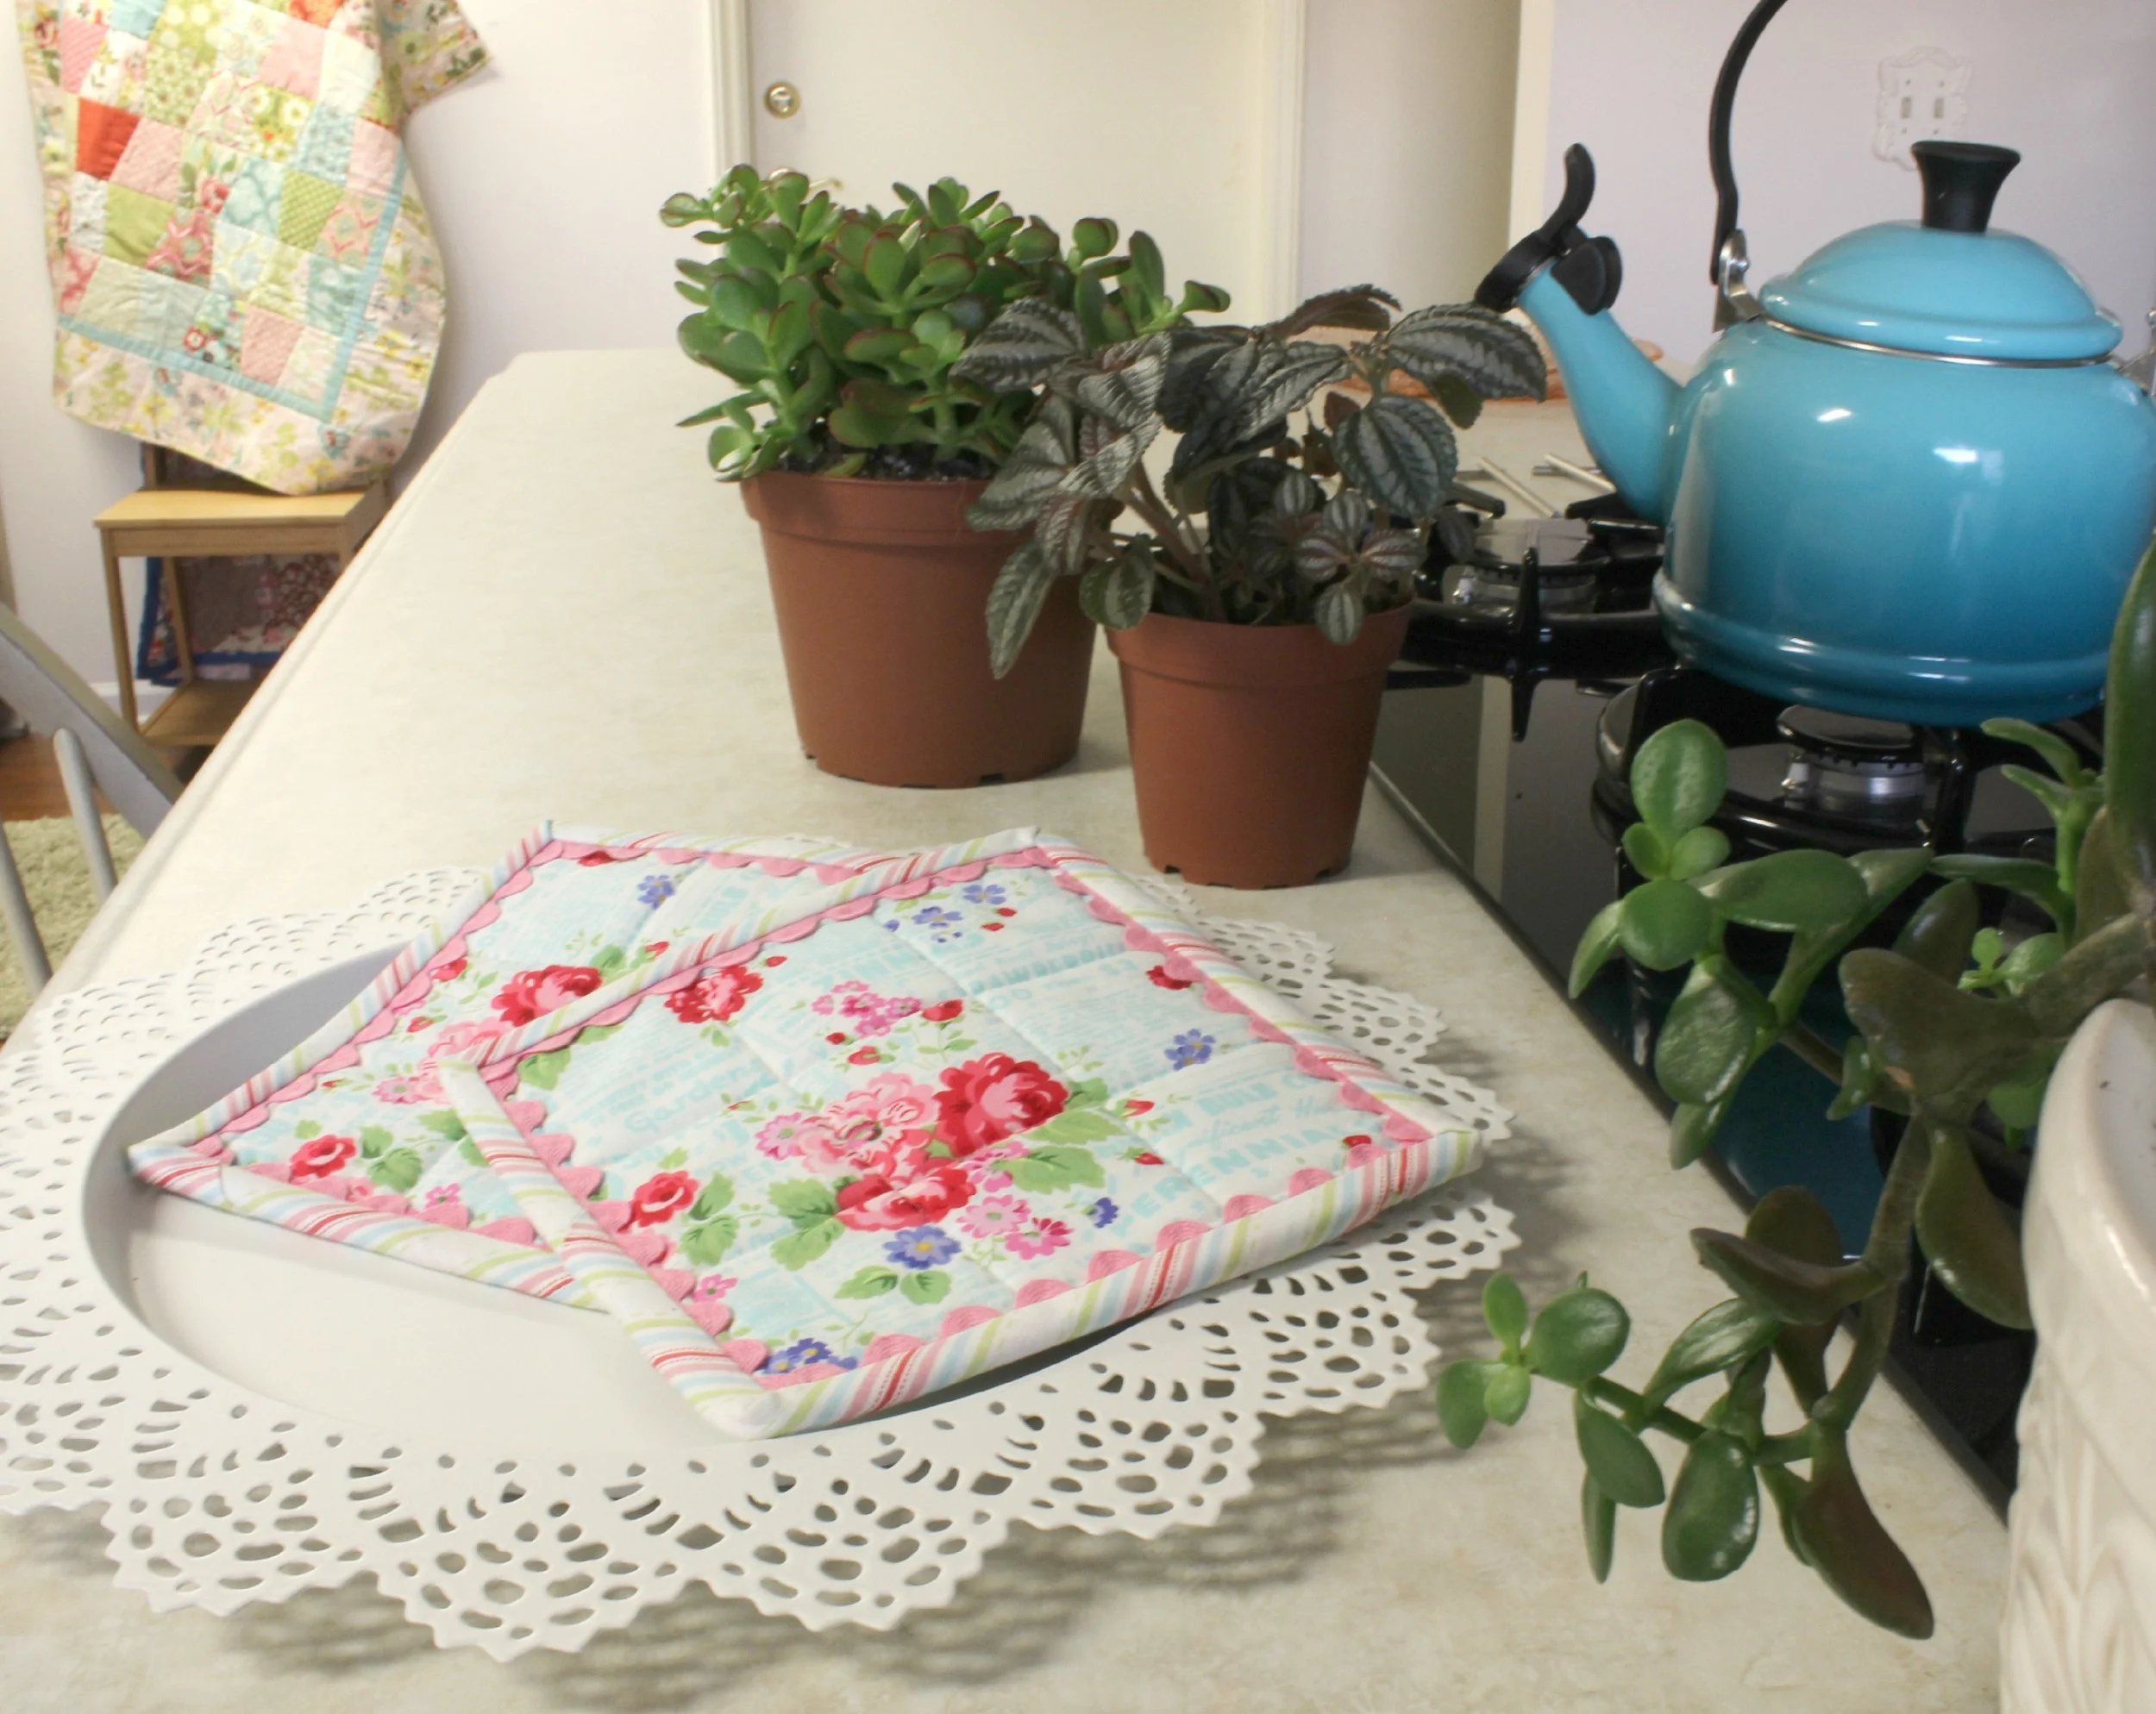
6. The last photo shows the potholder with the ric rac trimmed, the binding attached and ready to flip to the back side.
Flip the binding to the back side, mitering the corners. I love Wonder Clips, do you? I have to admit that I was skeptical at first because I had lived without them for my whole sewing life. Then I used them. Devoted! I use them for holding heavy seams together on things like tote bags and wallets. No pins needed! The back side is flat in order to move smoothly across the bed of your sewing machine. Tip: I keep my favorite needle for stitching binding right in the box of Wonder Clips! Back to the potholder: stitch the binding in place and and your ric rac binding is complete!

Thanks for visiting! Be sure to sign up for the MaxieMakes email list! Happy sewing and God bless. Maxie
