The Perfect Whatever Bag and 'Quilt-as-You-Go'

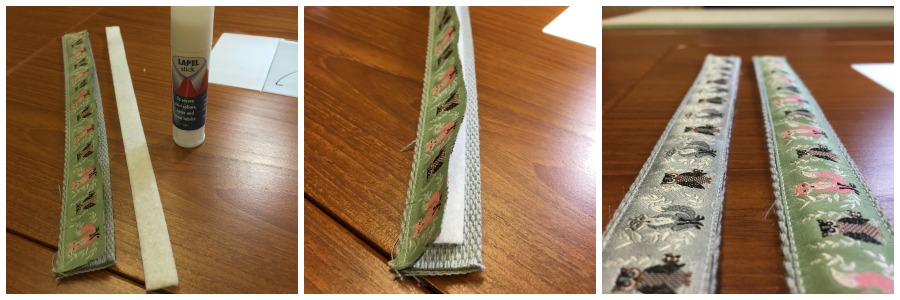
Want to know what’s going on at A Good Quilt this month? In the current tutorial we learned to make beautiful Quilt-as-You-Go panels and then we learned to make them into a gorgeous bag! Learning this technique for a small project builds confidence, encouraging everyone to work through to the finish! Not only did we learn the quilting technique, we learned how to add linings, pockets, boxing corners, and how to finish with a handmade strap handle! The lesson was taught through video content, and printable instructions.

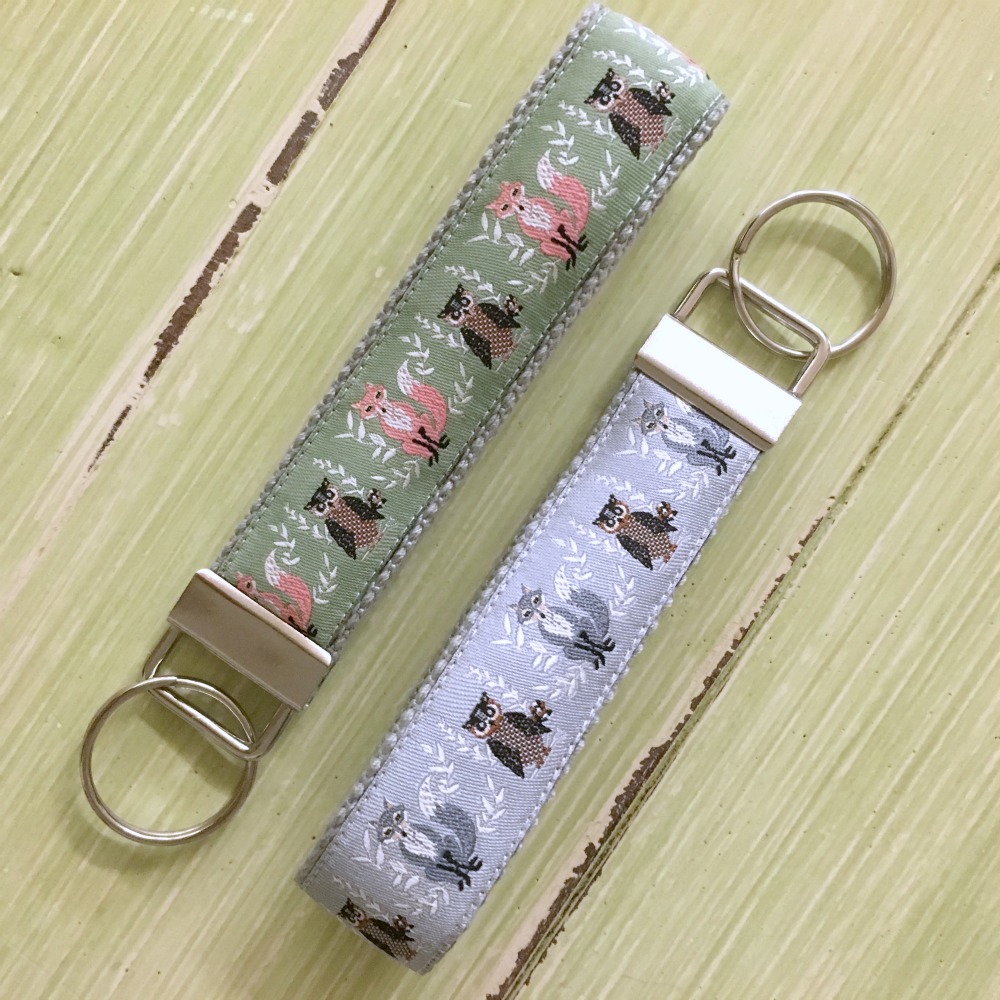
Aren’t these panels beautiful? I also taught how to embellish with ribbons, but gave options for making it without them as well.

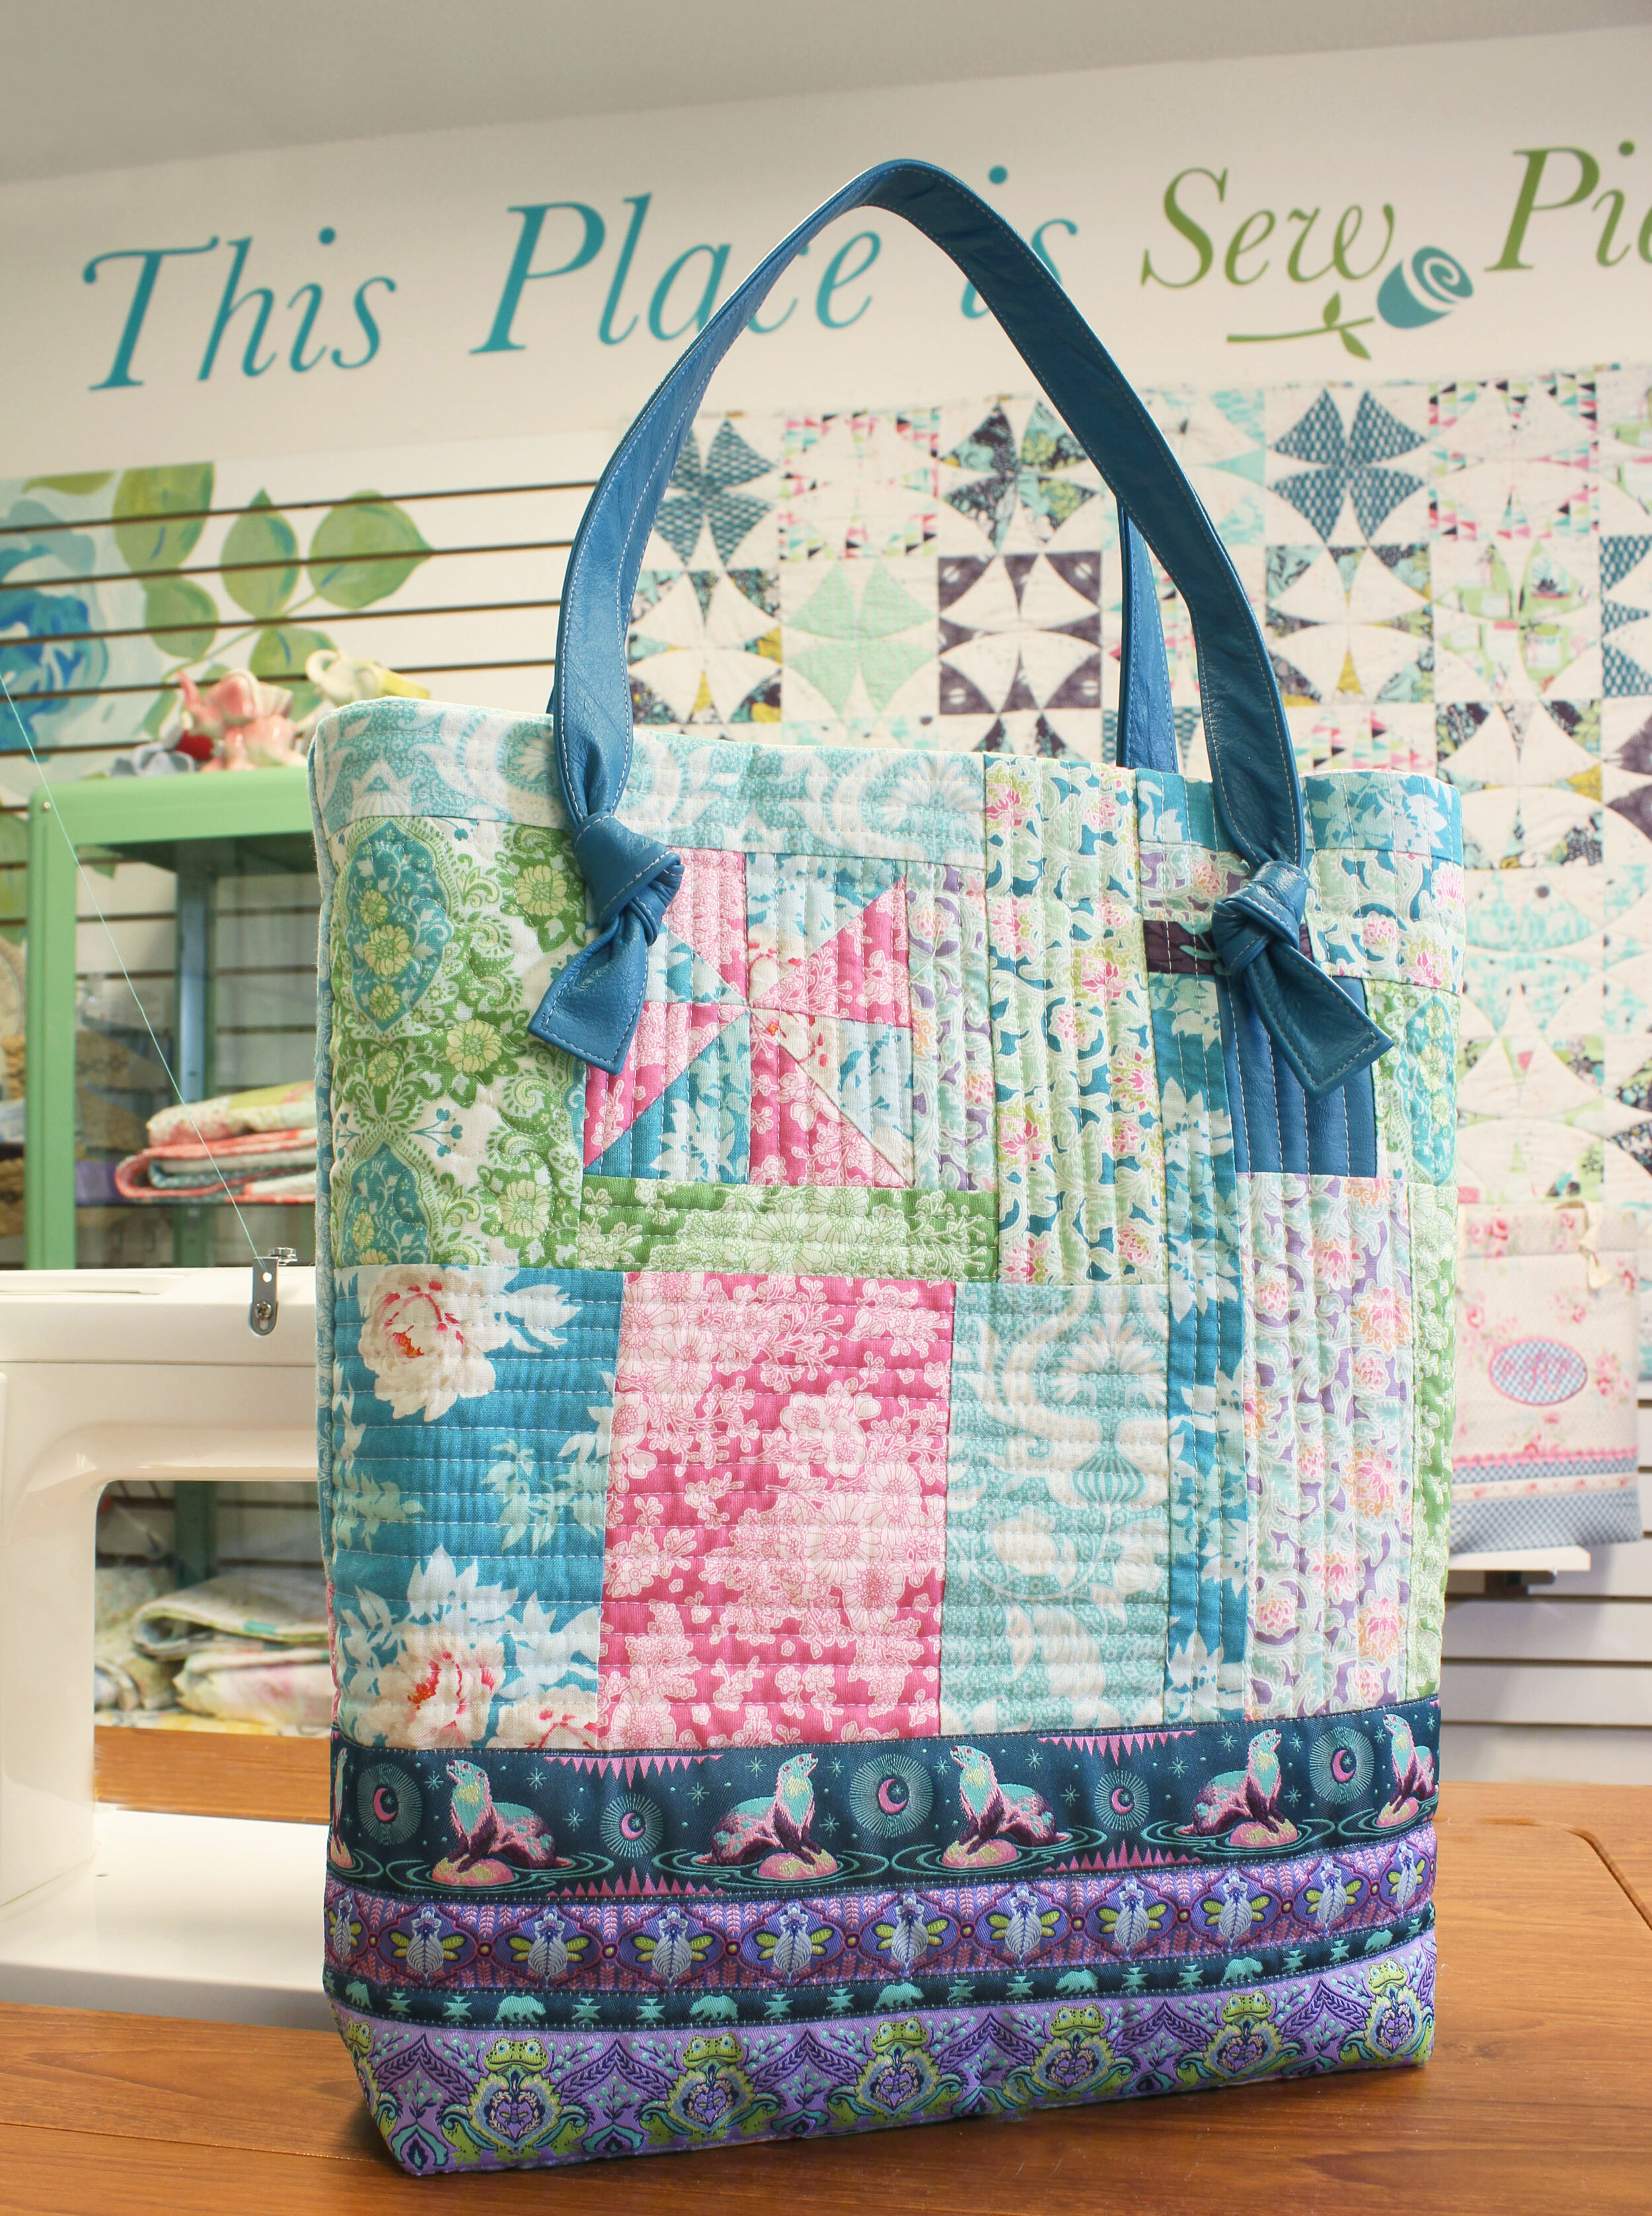
This technique is also perfect for table runners, placemats, mug rugs, clothing and much more! And…it’s just one example of 3 years of lessons and tutorials, all available to members in an organized library. If you’re not a member of our wonderful, interactive group, we’d love to have you join us! Registration is opening in October for just a few days, so jump over and get your name on the wait list to be notified when the doors open!

Warmly,

Maxie

Padded Ribbon Key Fob

Sometimes I just need a nice little project that I can finish in.....say, 10 minutes. Sometimes I need a little gift in a hurry. Sometimes I need to take a break from that quilt I've been working on for six months and actually finish something. I think I have just the ticket.

Working with beautiful textures and textiles always lifts my spirit, and this project is a delight because it includes a little bit of luxurious ribbon from Renaissance Ribbons! And because the end result is something that everyone needs, (whether you're gifting yourself or someone else), it will long be appreciated for both its usefulness and beauty.

Padded Ribbon Key Fob

The two ribbons used above are from Bonnie Christine's designs for Renaissance Ribbon.  Because they coordinate with her Hello, Bear fabrics, you may recognize the sweet little fox and owl. I have several of these key fobs and they are so great because the ribbon is easy to find in my purse and I can wear it like a bracelet when I need to keep up with my keys.

  • Supplies:
  • 9" braid trim a bit wider than your ribbon. I used a 1" wide braid.
  • 9" ribbon
  • matching thread
  • BInding clips or pins
  • Key Fob Hardware Set
Supplies for Ribbon Key Fob

Assembly:

  •  Lay ribbon on top of the braid, centered. Hold in place with binding clips or pins.
  • The Edge Joining Foot from Baby Lock makes it so easy to sew straight along the edge of projects. See the fabric guide in the first photo, below? In the second photo you can see how the guide is placed next to the stitching edge, keeping your stitches on the straight and narrow!
Baby Lock's Edge Sewing Foot

I've made too many of these to count, but this green one gave me a new idea. I decided to try to slip a 1/2" strip of batting inside, between the ribbon and the braid. To do so, I sewed one long edge of the ribbon to the braid and lifted the unsewn edge and placed the batting inside (center photo, below). I used a glue stick to hold the batting in place. Next, I stitched the remaining long edge to the braid. The grey ribbon, (shown left in the far right photo, below) is unpadded, the green is padded. The padding adds an extra layer of special-ness to this special ribbon!

Padding the Key Fob

After stitching both sides of the ribbon, stitch across the short ends to secure. You'll need a key fob hardware set to complete your project. The optional pliers simplify things and press the clamp smoothly together (first photo, below) Simply fold the ribbon/braid in half and place the short ends inside the hardware clamp (middle photo, below). Give the clamp a good press (third photo, below). Add your split ring and you're done! At least, with your first one! Hardware,  Hello, Bear Ribbons and braid aren't listed on my website, but are available at my quilt shop, if you'd like to call! 828 524-3300. See other available ribbons by Bonnie Christine here.

Hardware and tools for making a key fob.

Thanks for visiting. Happy Sewing and God bless!  Maxie