
As Thanksgiving approaches, the onset of Christmas Spirit commences. Let the Christmas sewing begin!
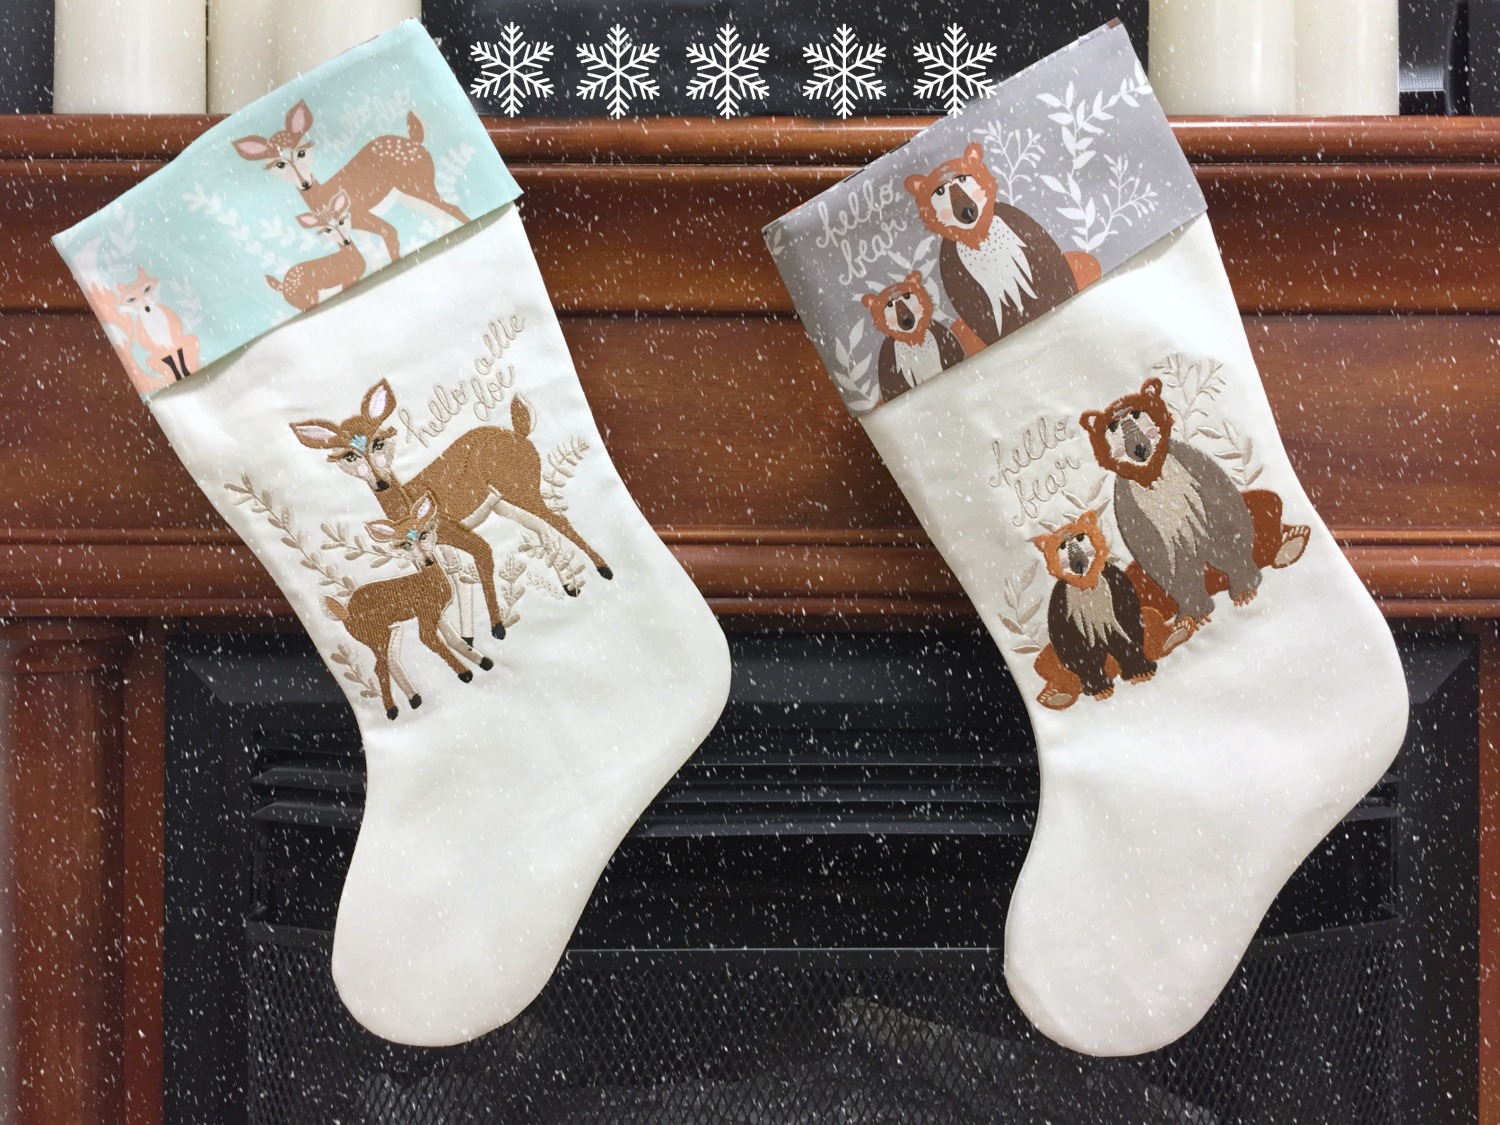
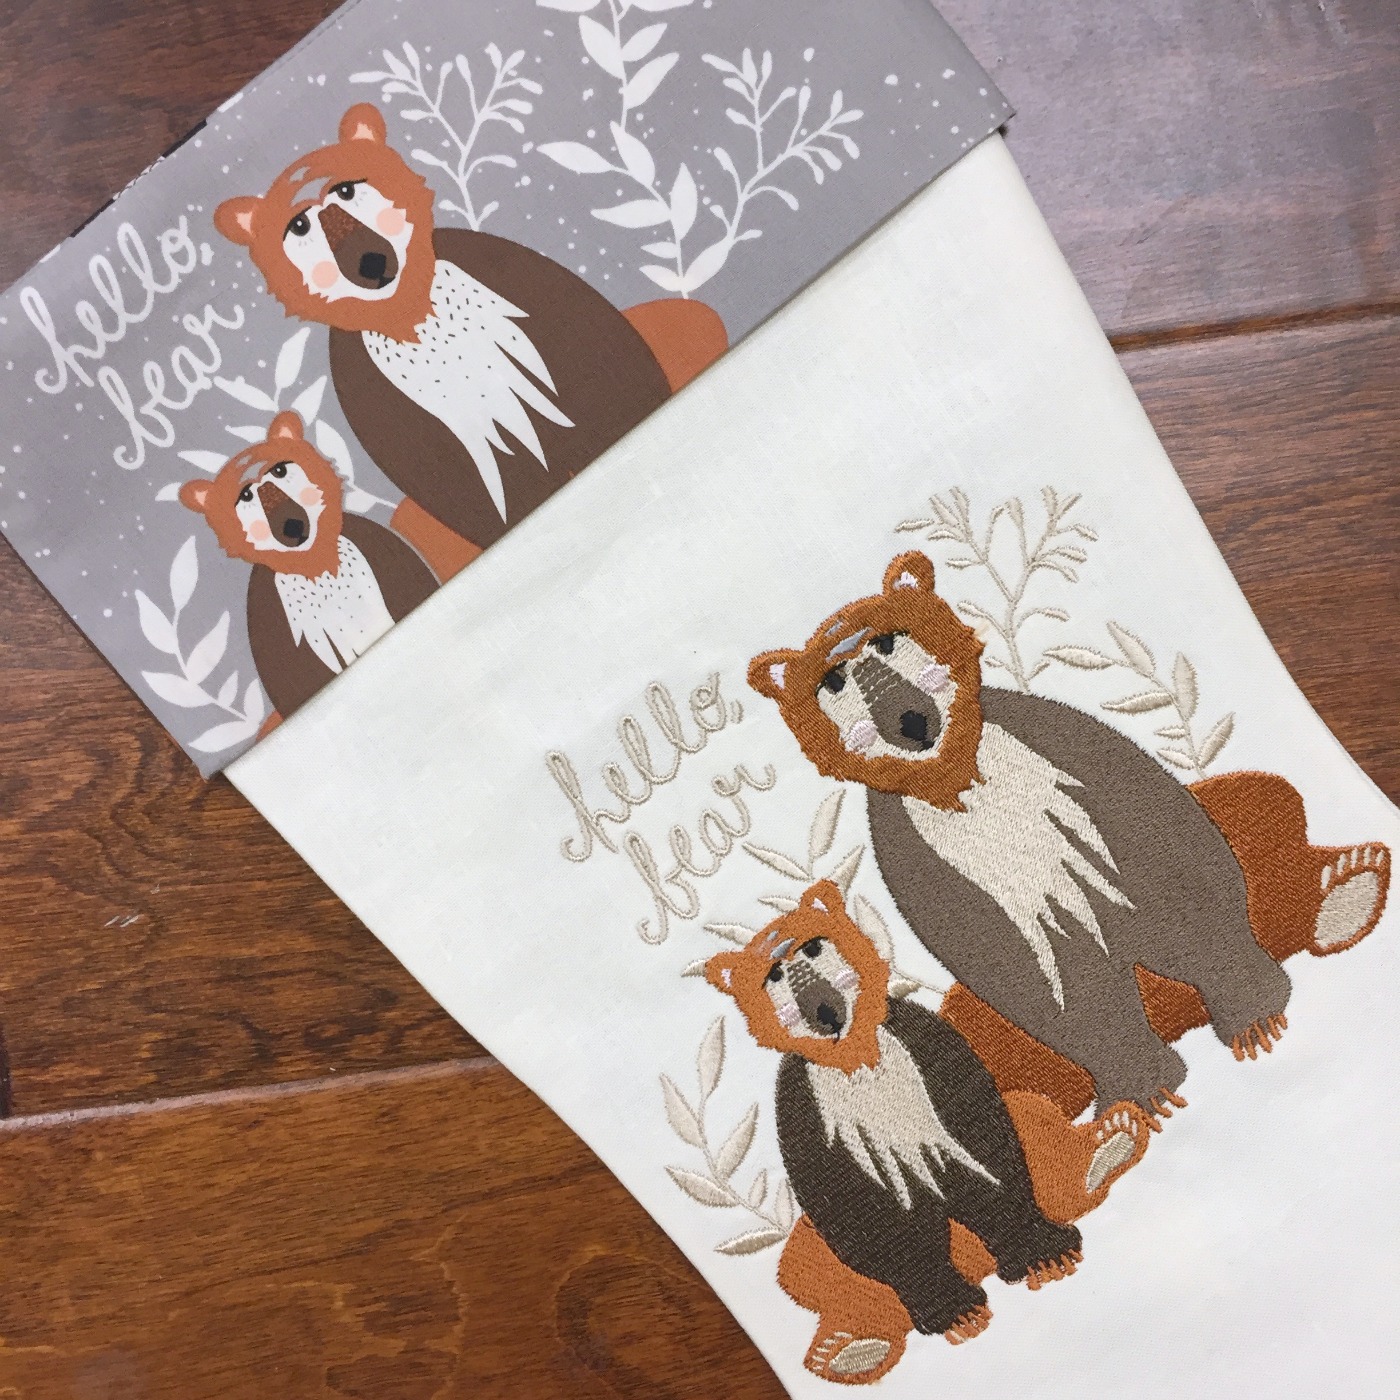
I made these two stockings for my grandchildren, Ollie Doe and Bear. You may recognize that the fabric for the cuff is from Bonnie Christine's fabric line for Art Gallery Fabrics, Hello, Bear. There happens to be a doe in the fabric, so by adding Ollie's name to the embroidery design I was able to personalize her stocking, too! I posted last week about Bonnie's coordinating machine embroidery designs for the new app, Acudesign, from which I chose the Bear and the Doe to make their stockings. Whether you choose to embroider a design on your stocking, or applique´, use patchwork or plain fabric, you can follow these simple directions to make a stocking extra special for your special someone!
First of all, draw a stocking shape on your pattern paper. Trace another stocking or create an original shape; stockings come in all shapes and sizes! I used a basic shape from a great little pattern by Sharon Hollifield, who teaches occasionally at my shop (if you'd like to order her pattern, just send me an email).
- Trace the design onto your stocking front fabric. If you are planning to embellish in any way, don't cut it out yet. Embellish as desired first, within your drawn stocking line.
- After embellishing, cut out your stocking front and another plain stocking for the back. Make sure they match when placed right sides together.
- Cut two lining pieces the same size.
- For the cuff, cut two pieces the width of your stocking top by 8". My stocking piece measured 9" across the top edge, so I cut two cuff rectangles, each 9" wide and 8" deep. If your fabric is directional, as mine, keep in mind that the top half of the cuff rectangle will be folded down to the front outside (the center line of the cuff will become the lower edge of the cuff). I was able to plan a bit of the deer and the bear to be placed in just the right spot. Get creative with your cuff...use faux fur, leather, corduroy, satin, an old sweater, etc.
- With right sides together, stitch the front cuff to the front stocking. The photo below shows the cuff sections stitched to the stocking front and back, and the lining pieces are laid in place. This photo also shows why a separate cuff is needed for directional prints! Had they been cut from one piece of fabric, either the cuff or the lining would have been upside down.

- Next, place the lining pieces and the cuff right sides together and stitch, as shown below:

Hint: Press the cuff seams toward the cuff on the front piece and away from the cuff on the back piece. This will allow your seams to nestle in opposite directions and reduce bulk.
- Place the two pieces right sides together (nestle and pin those cuff seams) and stitch around the outer edges, leaving a 3" opening (for turning right side out) at the bottom of the lining 'foot'. To reduce bulk and allow smoother seams in the curves, clip almost to the stitching line in the inner and outer curves. Trimming the seam with pinking shears, as I did, will accomplish the same thing.

- Turn right side out and press well. I cannot stress how easily the Point 2 Point Pressing tool makes the job a cinch. After turning, simply run the curved edge along the seam inside the stocking (through the opening at the lining bottom).

After pressing well, sew the opening closed by machine. It will never show, no need to waste precious time hand sewing! Stuff the lining down inside the stocking. The cuff will extend above the stocking, simply fold it down over the outside of the top and press well. Attach a ribbon at the back seam for hanging. Give it to someone extra special!
Thanks for stopping by. Happy sewing and God bless! Maxie
