
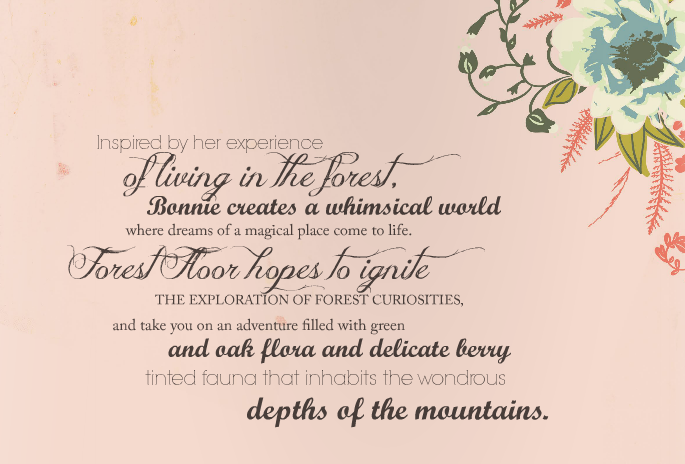
Today is my stop on the Forest Floor Blog Post featuring Bonnie Christine's current line, Forest Floor for Art Gallery Fabrics! This collection comes right from Bonnie's heart, because she and her sweet family live in a beautiful forest, quiet and serene. She lives in a part of the country that is noted for trails and waterfalls, so it's her little piece of heaven on earth. I traveled with Bonnie and Callie Lynch (her photographer) deep into the forest to photograph the Lookbook, so for a personal glimpse of her area, just click here!

I love that, as Bonnie's mom, I help her set up her booth at International Quilt Markets. At right is a look at part of her booth from Forest Floor. Like that Cross quilt? I shared about it in a previous blog post! You'll find the pattern here.
While at Quilt Market I found another beautiful addition for my quilt shop: Leather! That's right! The Old City Quilt Shop had a booth showcasing their leathers, with bags, wallets and even quilts made from them! (More on that soon!)
So... for today's project I chose to combine a beautiful saddle brown leather with Bonnie's Wild Posy Flora in a pattern from Swoon Patterns, Brooklyn Handbag and Traveler.


Have you ever sewn with a Swoon Pattern? The directions and pattern pieces are clear and easy to understand, and following their step-by-step instructions ensures a well-made, professional outcome. Here are all my leather pieces, ready to go! Look, just look, at that metallic gold zipper!
Working with this leather lead to a few customized changes in some of the pieces, particularly the strap connectors. Swoon works with a lot of faux leather (vinyl) which permits the raw edges to be shown as trim, but my leather was much thinner and I wanted to finish off those edges. After a couple of trials for the strap connectors, I decided to cut them with a 3/8" seam allowance and turn that seam allowance to the wrong side. To do so, I stitched with a straight stitch along the seam allowance and then turned the allowance to the back side, bringing the stitches slightly to the back side as well so they would not show from the front side. The seam allowances were glued to the back side of each piece with an adhesive roller. I also found that a fabric glue stick worked great, and double sided tape is also a good choice for this process.
I did lengthen the handles a few inches just to fit my preferences. Other than these things, I followed the pattern just as it was written.
Clipping the leather in the curves was mandatory! Click on the photos for detail.
My leather is very thin, like gloves. It stitches beautifully, but there are a few rules you must follow for success:
- Use a leather needle! This needle has a blade like tip that cuts through the leather. A regular needle tears through and will tear between the stitches.
- Stabilize your leather! My favorite stabilizer is a cotton woven stabilizer called Shape Flex. I cut the stabilizer to exact size, with no seam allowances and fused to the wrong side of the leather. (Use a pressing sheet so that your iron does not touch the leather.) This allowed me to fold the seam allowance just over the cut edge of the stabilizer and glue it securely in place. The stabilizer acted as a guide for me while gluing. I stabilized every piece.
- After gluing, use a small brayer to flatten the seam allowance and press it nice and flat to the glue.
- Don't use pins! You'll make a hole in the leather, and once it's there, well, it's there. I glued everything. I tried to use the binding clips, but abandoned them when I found that they left an indention in the leather.
- Use a Teflon foot on your sewing machine! I've heard that you can alternately put tape on the bottom of your foot, and various other solutions, but...just get a Teflon foot because it was completely smooth and problem-free!
- Lengthen your stitch length. Stitches too close together could cause the leather to tear. Besides, it's just not necessary. Look at your shoes or a bag that is made from leather and examine the stitch length.

Lastly, make a little leather tassel for your zipper tab! I used two 1"x3" strips of leather, slicing 'fringe' in 1/4" increments, stopping 1" from the top. I sandwiched them inside a folded 1" x 6" strip that I fringed on both ends. Then I added a D ring and a stud to hold them together.
Be sure to check out yesterday's blog post by Alex of Alextilalila Designs in Barcelona! Isn't it fun to have sewing friends all over the world? She made the cutest tote, you won't want to miss it! Tomorrow's stop is Terri Steele. Click here to see a lineup of all the links to the blogs participating. It's a great group with so much inspiration to share. Purchase Forest Floor fabrics at A Stitch in Time with free shipping!
Thanks for visiting! Happy Sewing and God bless! Maxie
