
You're going to love this, I just know it. Hemstitching.
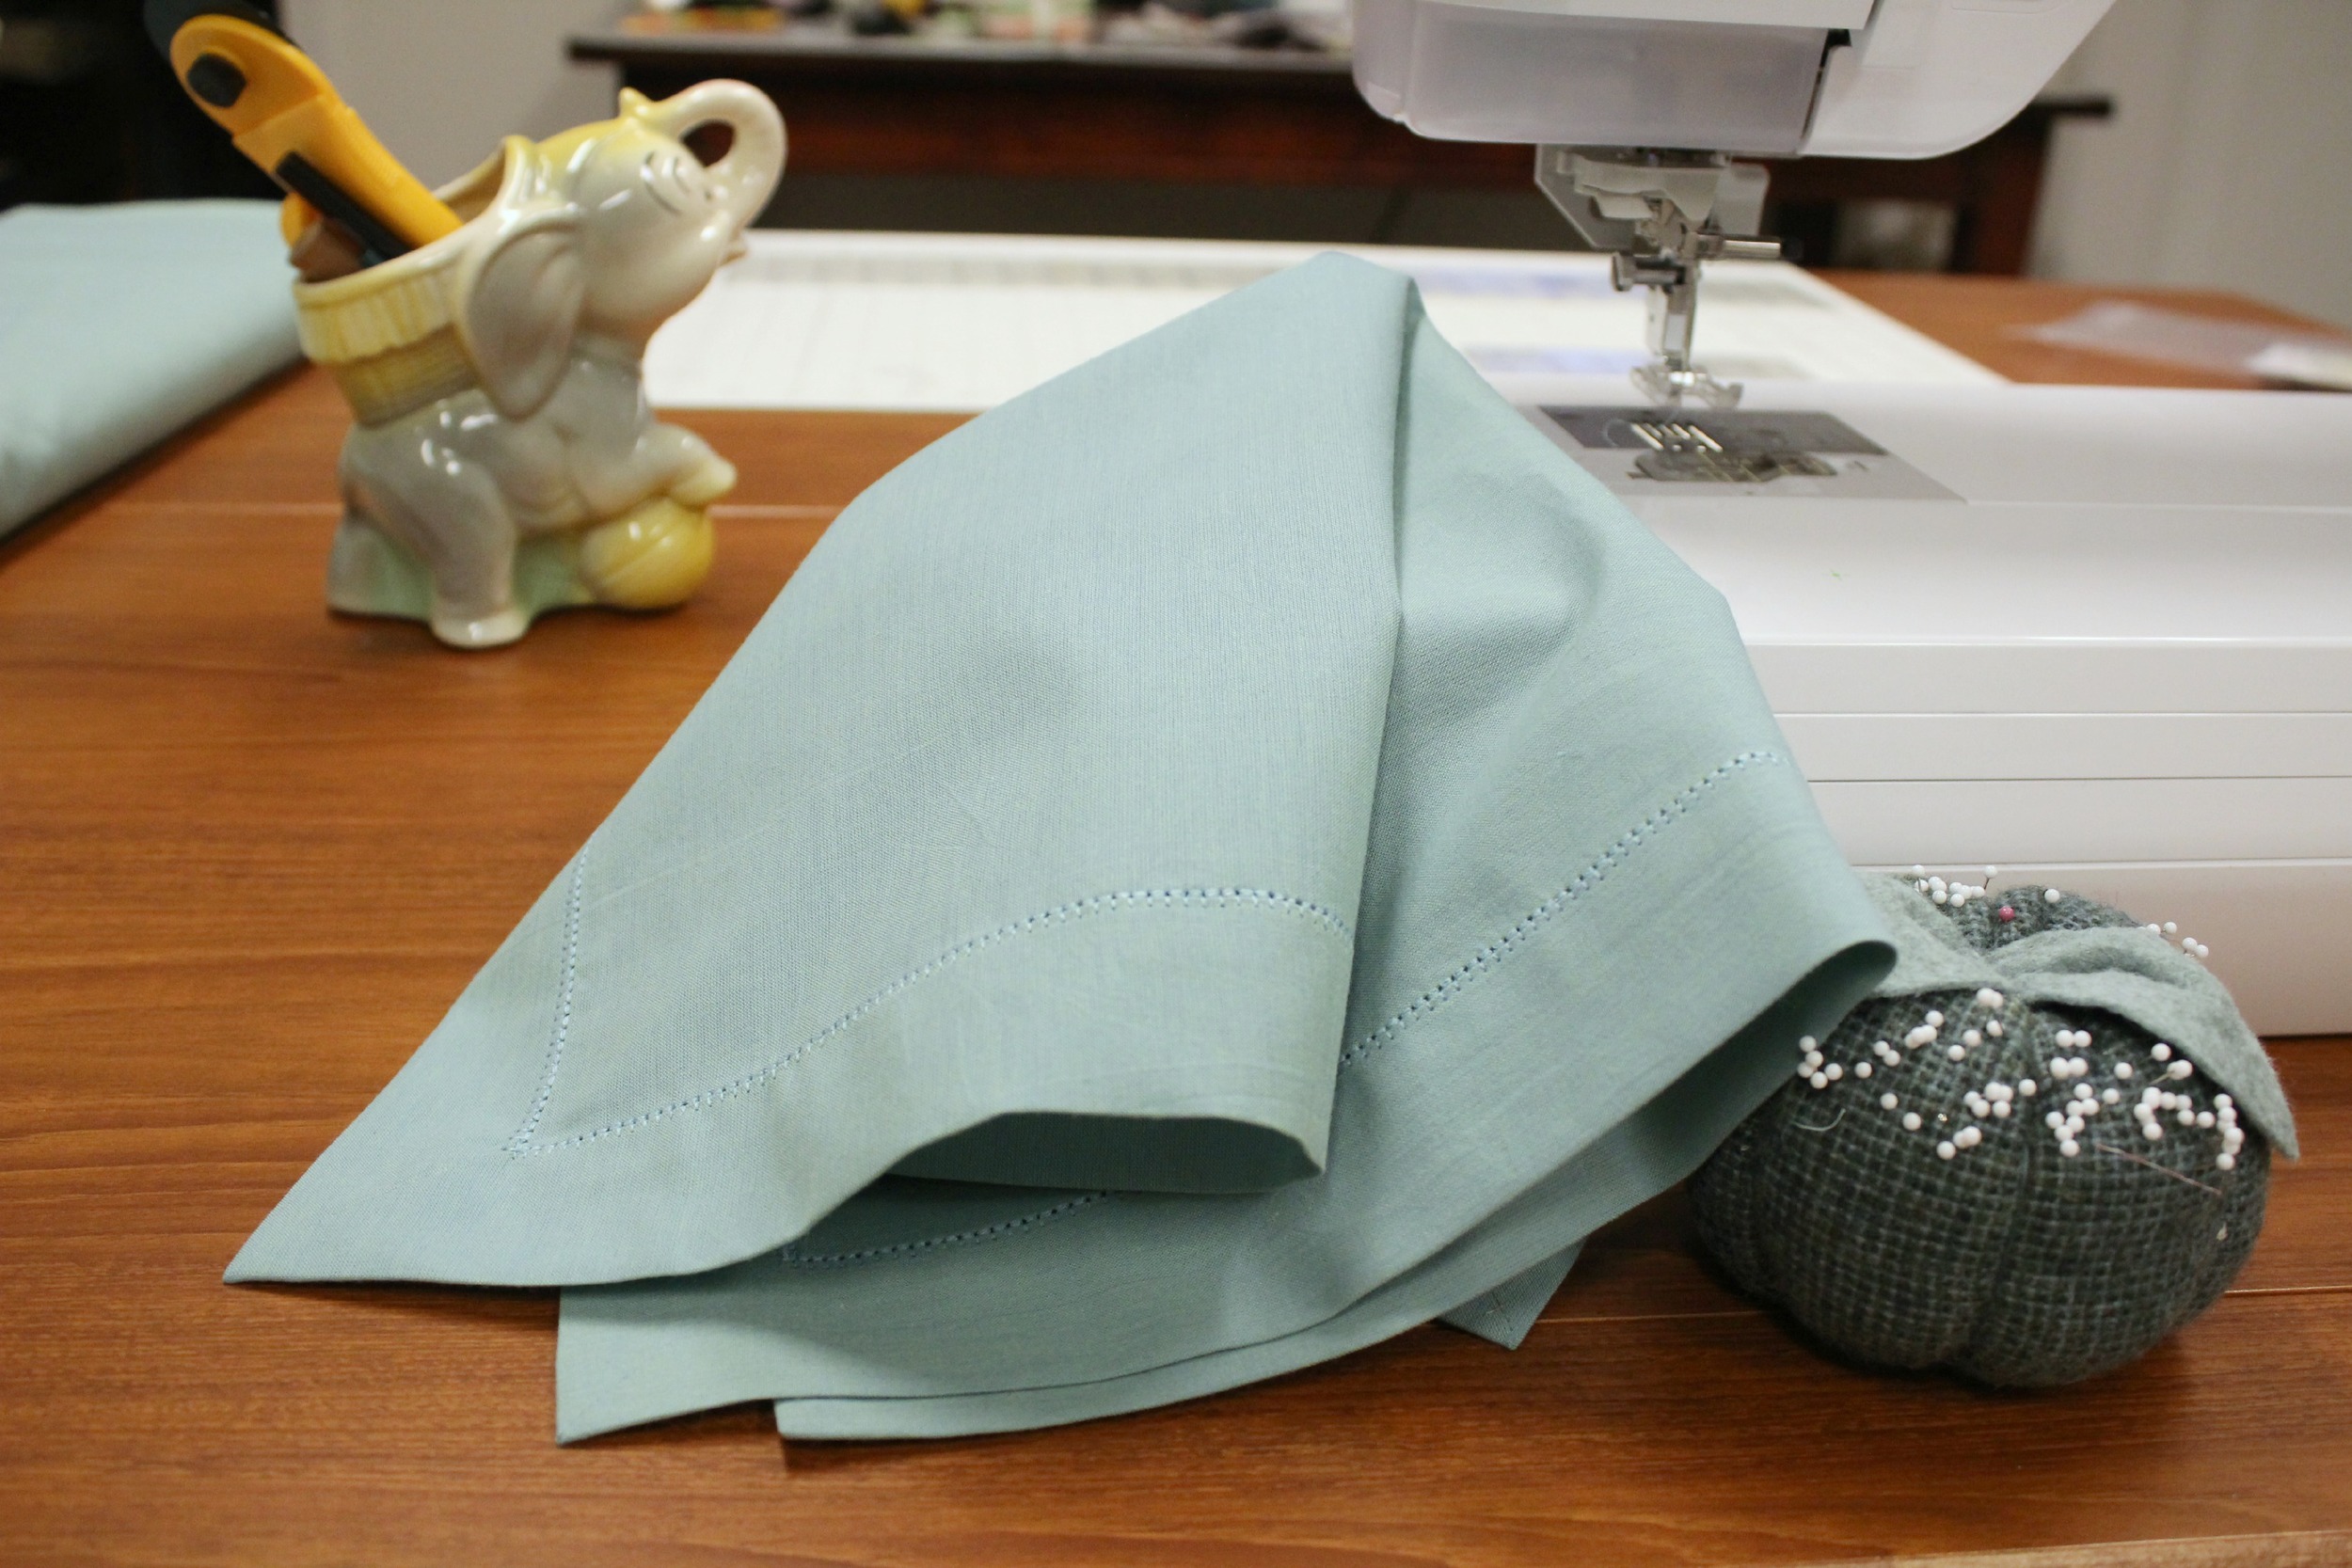
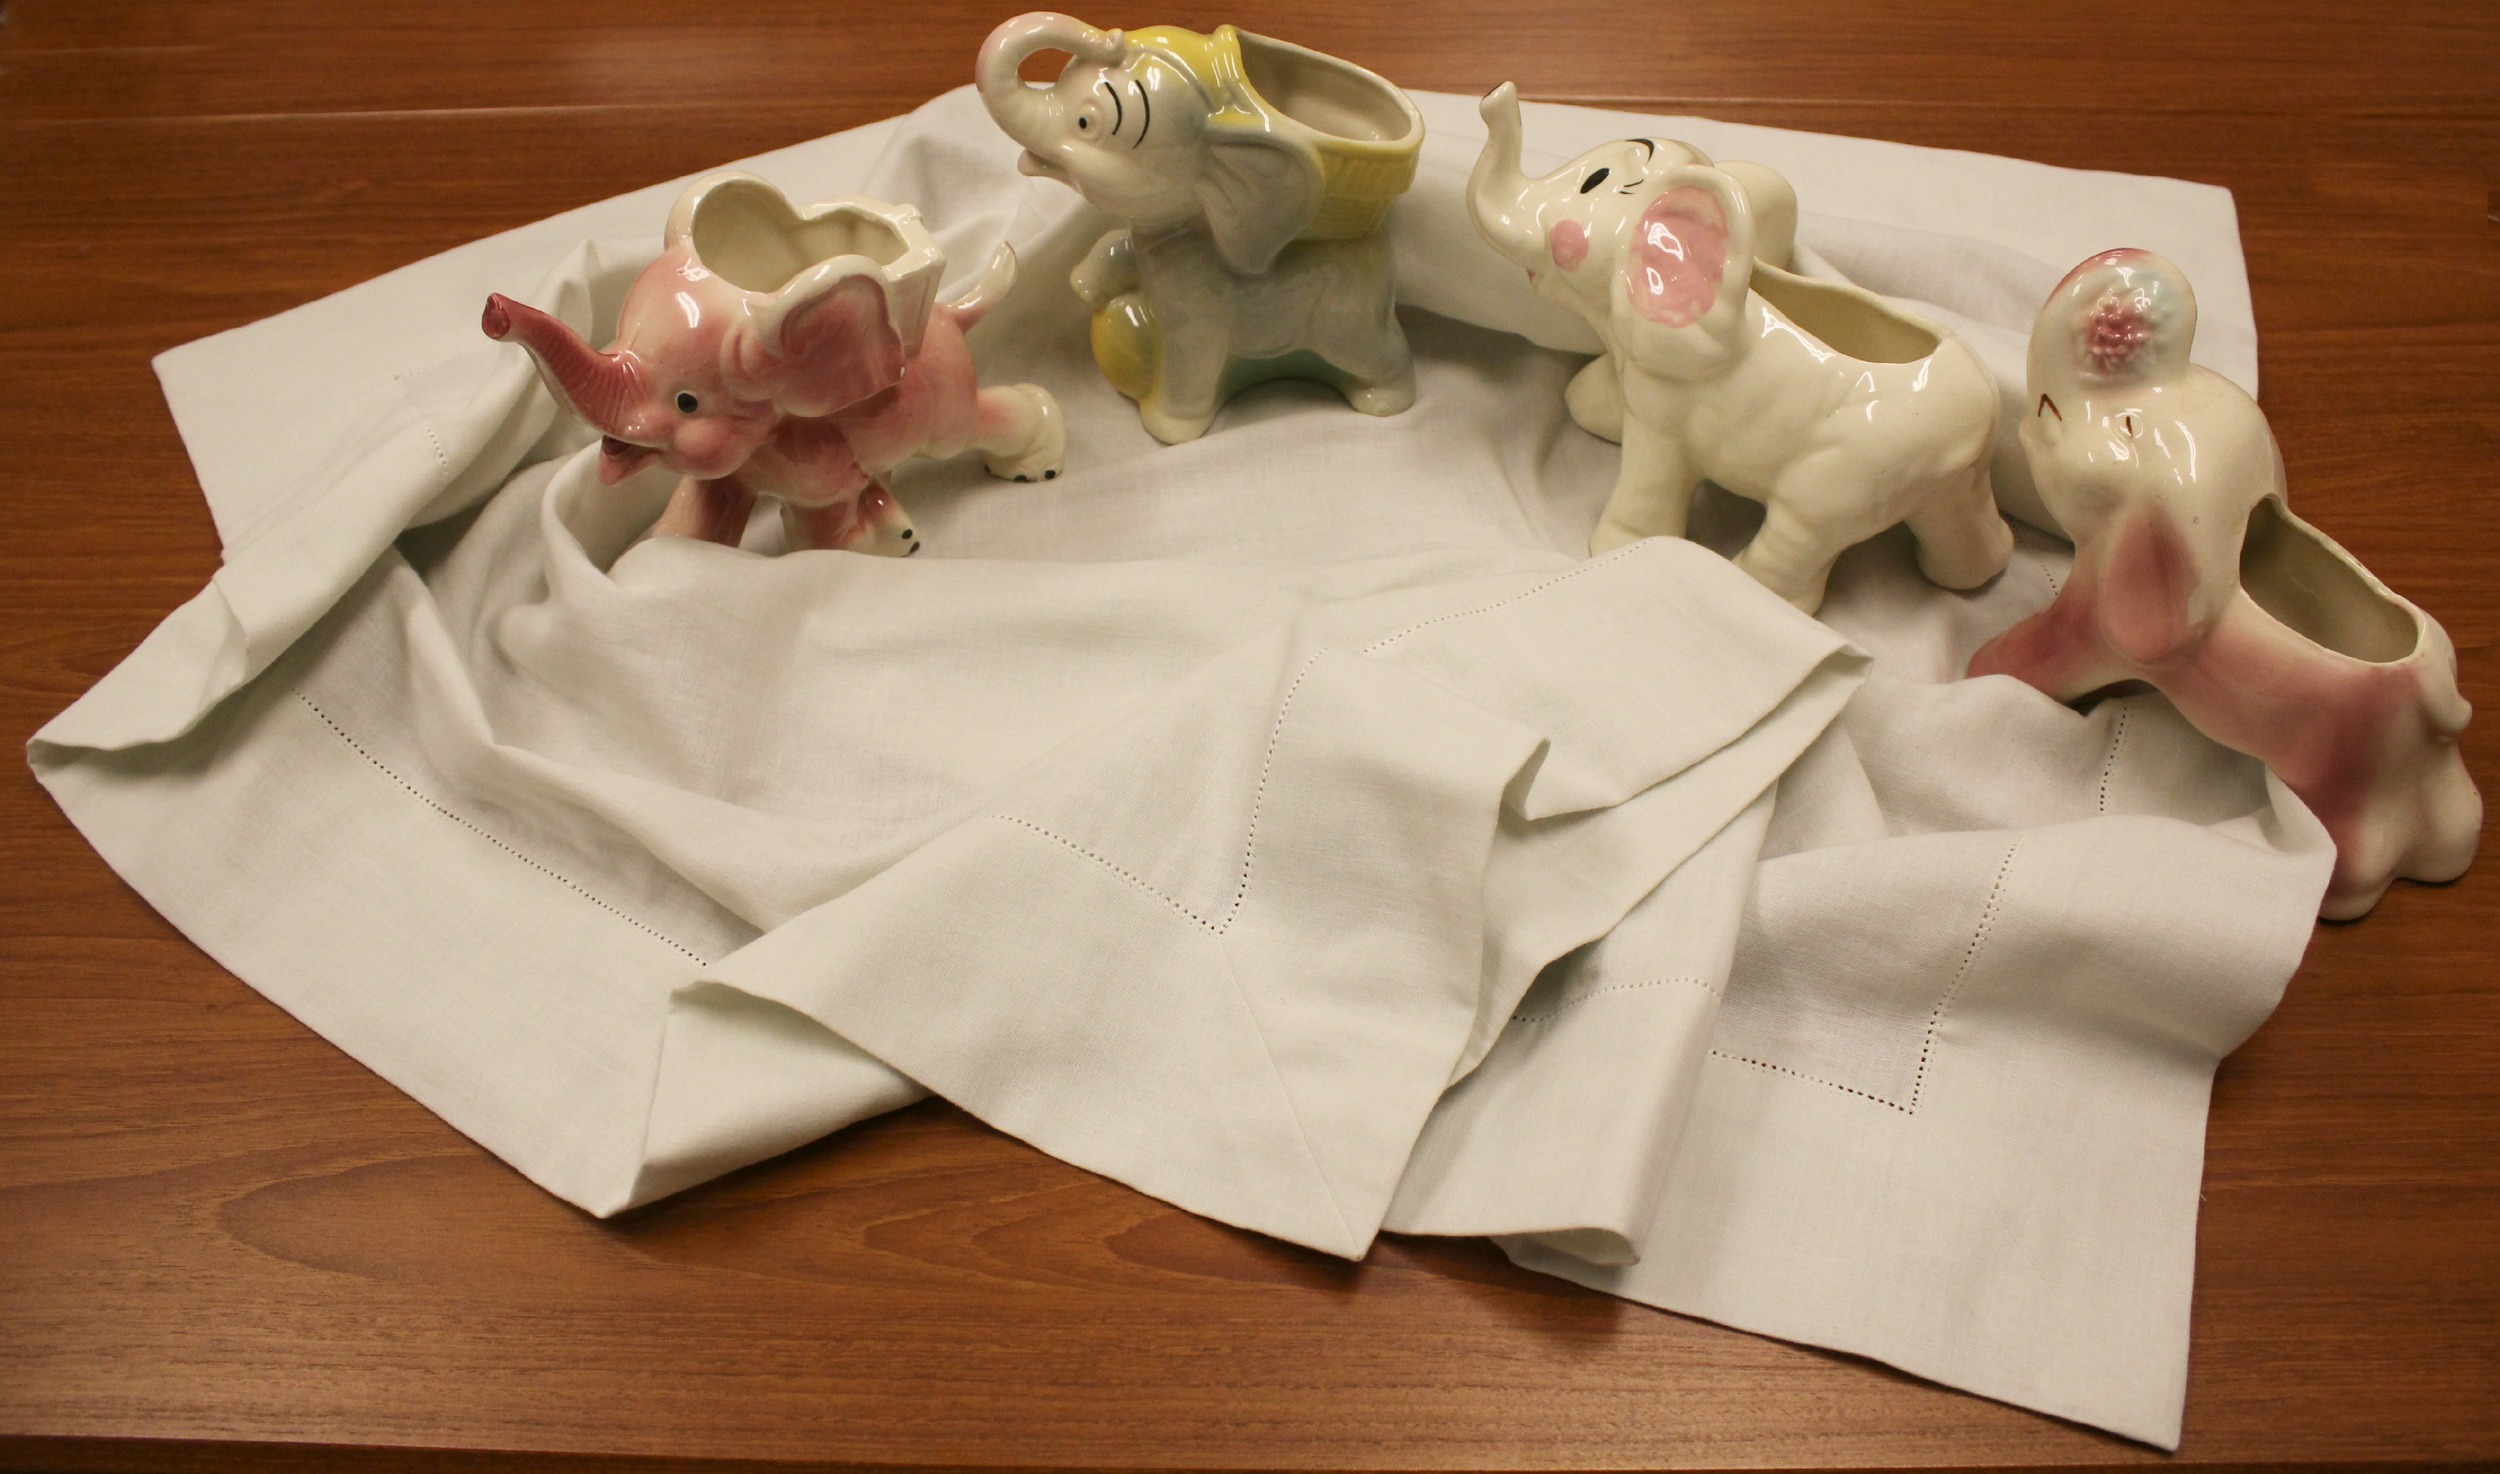
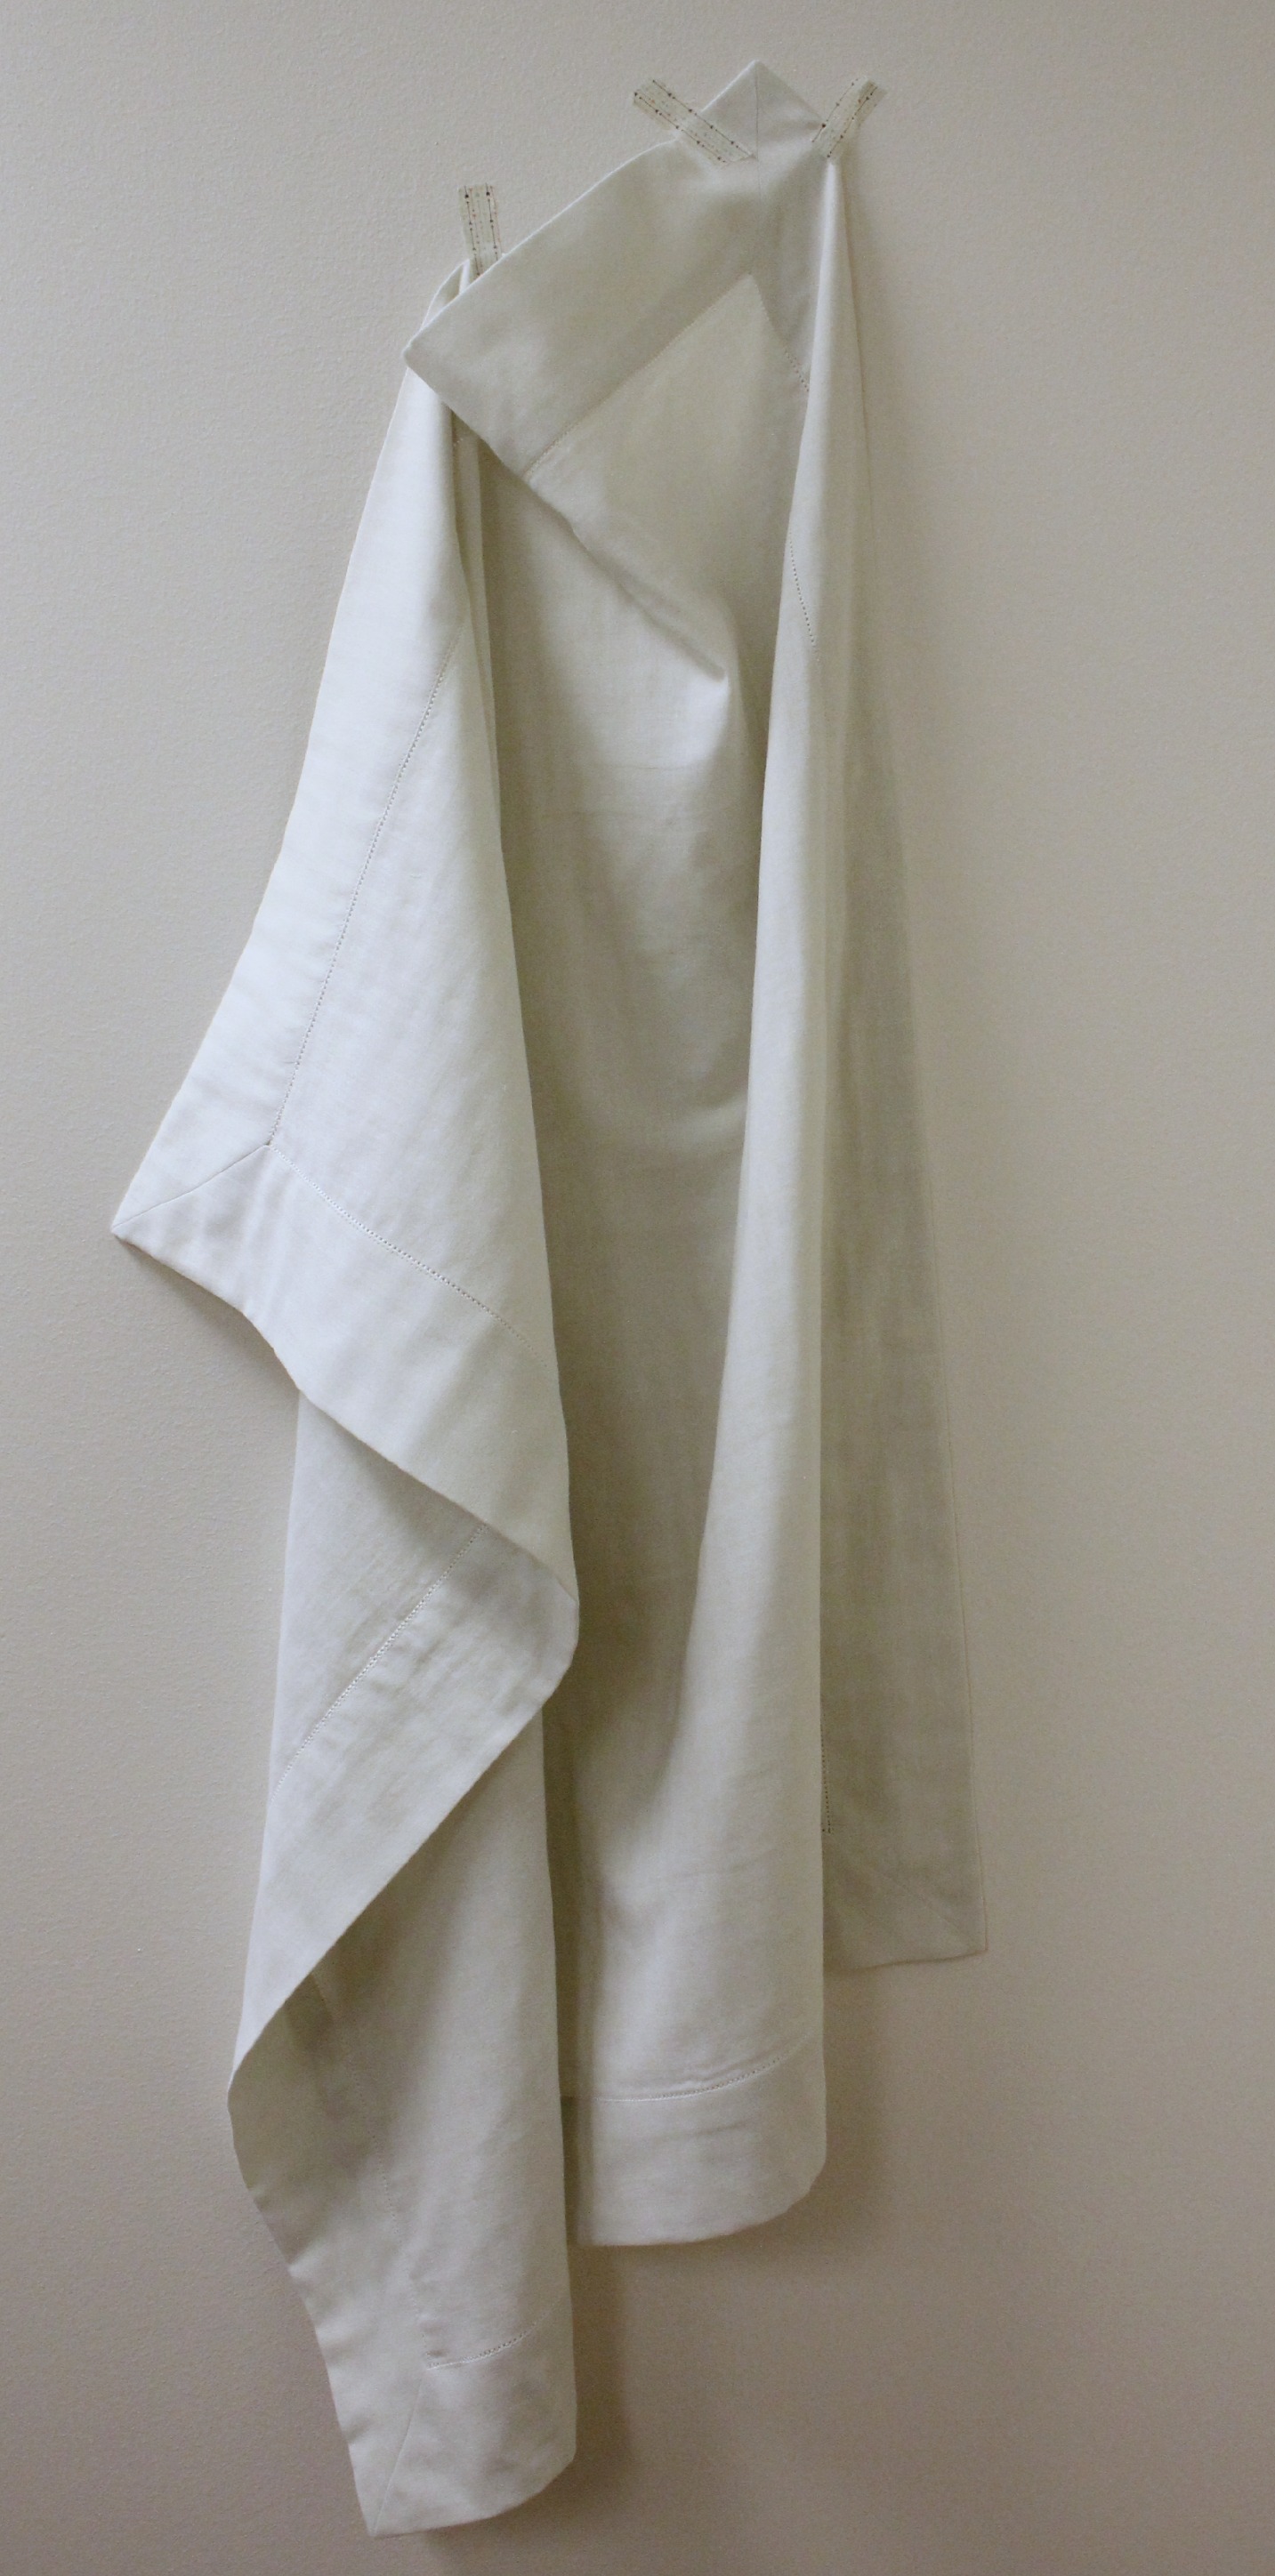
Would you like to quickly make a lovely set of hemstitched napkins, (above) or a hemstitched baby's receiving blanket (below)? It's very easy, thanks to a couple of things you need to know. First of all, start with a natural fiber. The napkin is made from a blue yarn-dyed shot cotton fabric. There is no right or wrong side, and the loosely woven fibers hemstitch beautifully. The receiving blanket is made from 100% cotton double gauze fabric. It's so incredibly soft, these elephants were in heaven!
Hemstitching requires a Wing Needle. Do you recognize this guy? Notice that there are wide flanges, or, wings on each side of the needle.

They do magical things when paired with the right stitch. Did you know that some stitches are designed specifically to be used with winged needles? Chances are good that you have these stitches on your sewing machine. Speaking of sewing machines, my new Baby Lock Destiny arrived today and I am floating in the clouds! I’ll be sharing more on this machine, but today I’m going to share the wing needle hemstitch. Don’t have the Destiny machine? Check the machine that you own and see if the stitch we'll be using today is there; even Baby Lock’s basic machines have it. Here's the stitch to look for:

At first glance you might think it is a basic blanket stitch, like the one you use for appliqué. The illustrated stitch on our machine menu looks very much that way, but when you stitch it out you see that it’s no blanket stitch. Well, maybe a blanket stitch on steroids! A regular blanket stitch typically just stitches a line of straight stitching and then jumps over to the left to stitch into the edge of your appliqué fabric. A Parisian Hemstitch, which we are using today, stitches the straight stitching line several times so that the winged needle will repeatedly stitch into the same hole 8 times, wrapping the hole with thread as it stitches. Then it makes one jump to the right to catch the edge of your fabric.
So, let’s make a hemstitched napkin! A dinner napkin is about 18” square. For this technique, you’ll need to begin with a square that is about 22”. Since fabric is usually 44" wide, we should get 2 napkins with one 22" length of fabric. If your fabric is slightly less than 44”, just make two squares as large as you can. As long as all your napkins are the same size (and square) they will be just fine. No one will measure them, right?
Now, we will simply miter the corners. Don’t leave! Look what I’ve found: The No Math Mitered Ruler Set! Let me show you how easy and fast this is!

With these rulers, we can make just about any size of miter called for. We will use the 1 1/2” ruler.
Referring to the photos below: Photo 1: Place it on the corner of your napkin. Trace around the shape. Photo 2: Cut out the shape and discard the cutaway piece of fabric. Photo 3: The extended edge on all four sides will be come the hem, so press that under now. Photo 4: All four side hems are pressed under.

Referring to the photos below: Photo 1: Open out the pressed hems and fold the napkin diagonally at the corner, right sides together. I have a ruler placed on the corner so that I can actually mark my seam allowance. It's 1/2" (no brainer here, because the ruler tells you what the seam allowance should be)! Photo 2: Stitch on the drawn line. Photo 3: Trim it, like this, clipping all the way to the corner stitching. Photo 4: Press the corner seam allowances open. I'm using the Dritz EZY-Hem tool to get a crisp corner.

Referring to the three photos below: Photo 1: Turn the corners right side out with a point turner to get the corners nice and square. Photo 2: Slip the EZY-Hem tool back inside the hem when pressing to keep the hem width even. Photo 3: Press well and pin, and we're ready to stitch!

Photo 1: Choose thread for the bobbin and top matches your fabric. Place a stabilizer underneath the edge of your napkin hem. You can barely see mine extending out the right side of the napkin. I use a clear, wash-away stabilizer. Play with a sample piece to adjust your width and length to your liking, but I prefer my straight stitch to fall just beside the fold (on the single layer of fabric), and the needle jump to land just a few threads over the fold. Photo 2: Stitch away! Put your needle in the down position and pivot at the corners. Pivot after the needle has completed it's right swing and is back on the single layer of fabric.

The ruler set will allow you to choose from a 1" hem to a 3" hem. For the receiving blanket, below, I chose the 3" hem. I began with 1 1/4 yard, cut it into a square and hemmed in the same manner as the napkin. I finished with about a 37" square blanket. Double Gauze fabric is so dreamy, I wish you could feel how soft it is! I do stock it in my quilt shop, but not online yet, so give me a call if you'd like to order. Here is a picture of my stock. 828 524-3300.
Thanks for visiting! Happy sewing and God bless, Maxie
