
I am so happy to share something special with you today! It's one of my video tutorials from my website, A Good Quilt, and it includes a printable instruction sheet that goes along with lesson!
I wanted you to see an actual video from the library inside A Good Quilt, where currently, over 70 tutorials are organized into categories. And...new things are added every Friday! So, hop on over and enjoy this little treat from me to you. There is no obligation whatsoever!, so, enjoy! Maxie. https://www.agoodquilt.com/peek-inside

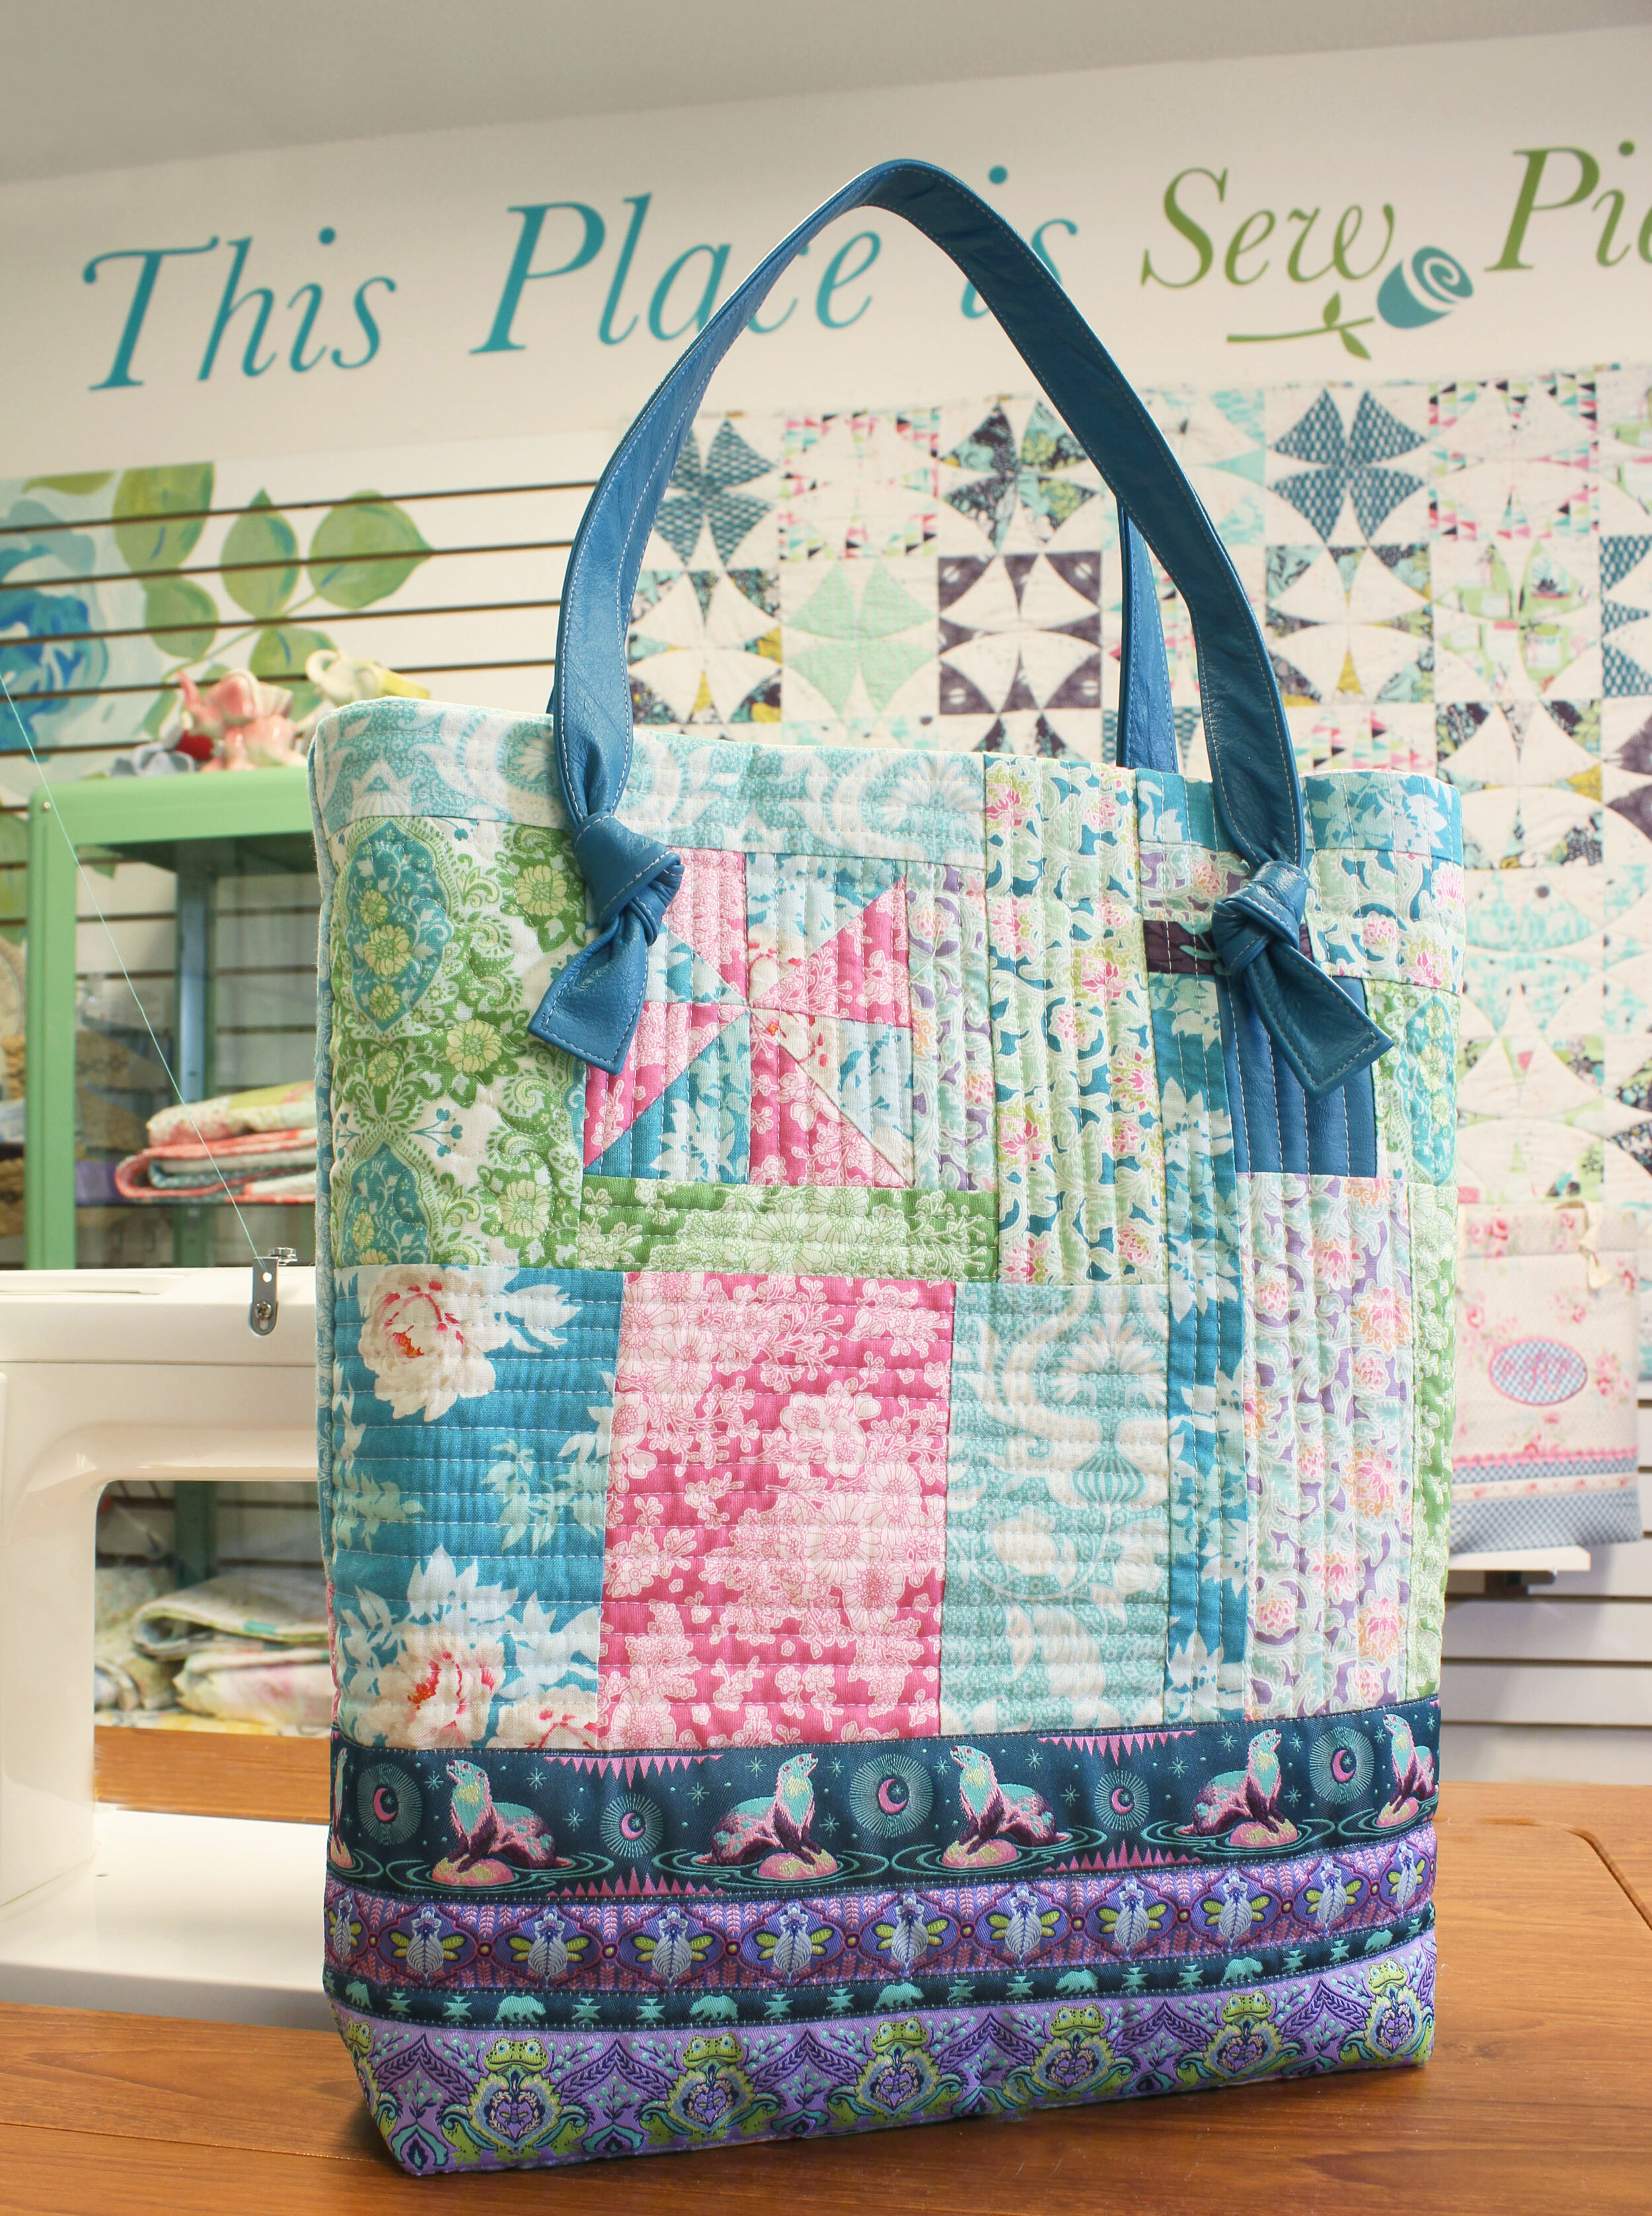
The Perfect Whatever Bag and 'Quilt-as-You-Go'
Want to know what’s going on at A Good Quilt this month? In the current tutorial we learned to make beautiful Quilt-as-You-Go panels and then we learned to make them into a gorgeous bag! Learning this technique for a small project builds confidence, encouraging everyone to work through to the finish! Not only did we learn the quilting technique, we learned how to add linings, pockets, boxing corners, and how to finish with a handmade strap handle! The lesson was taught through video content, and printable instructions.

Aren’t these panels beautiful? I also taught how to embellish with ribbons, but gave options for making it without them as well.
This technique is also perfect for table runners, placemats, mug rugs, clothing and much more! And…it’s just one example of 3 years of lessons and tutorials, all available to members in an organized library. If you’re not a member of our wonderful, interactive group, we’d love to have you join us! Registration is opening in October for just a few days, so jump over and get your name on the wait list to be notified when the doors open!
Warmly,
Maxie

Cricut Maker - The Ultimate Smart Cutting Machine!
Two words for the new Cricut Maker: Game Changer! After using and loving another cutting machine for years, I was introduced to the new Cricut Maker cutting machine after Fall Quilt Market last October. How do I love thee? Let me count the ways!
Read More
Fun with Labels!
January's Maxie Mail Subscription Sewing box was all about labels! Have you ever admired a quilt that had no label? I know I have. I own several antique quilts and a few that were passed down through my family that have no labels. I only wish I knew the history of that quilt and its maker, especially those that my grandmothers made. Quilts passed down through families can loose their meaning when no connection can be made to the maker. As for current quilts, recipients need to have that visual reminder of the love that brought that quilt to them.
Read MoreHomemade Christmas Cheer
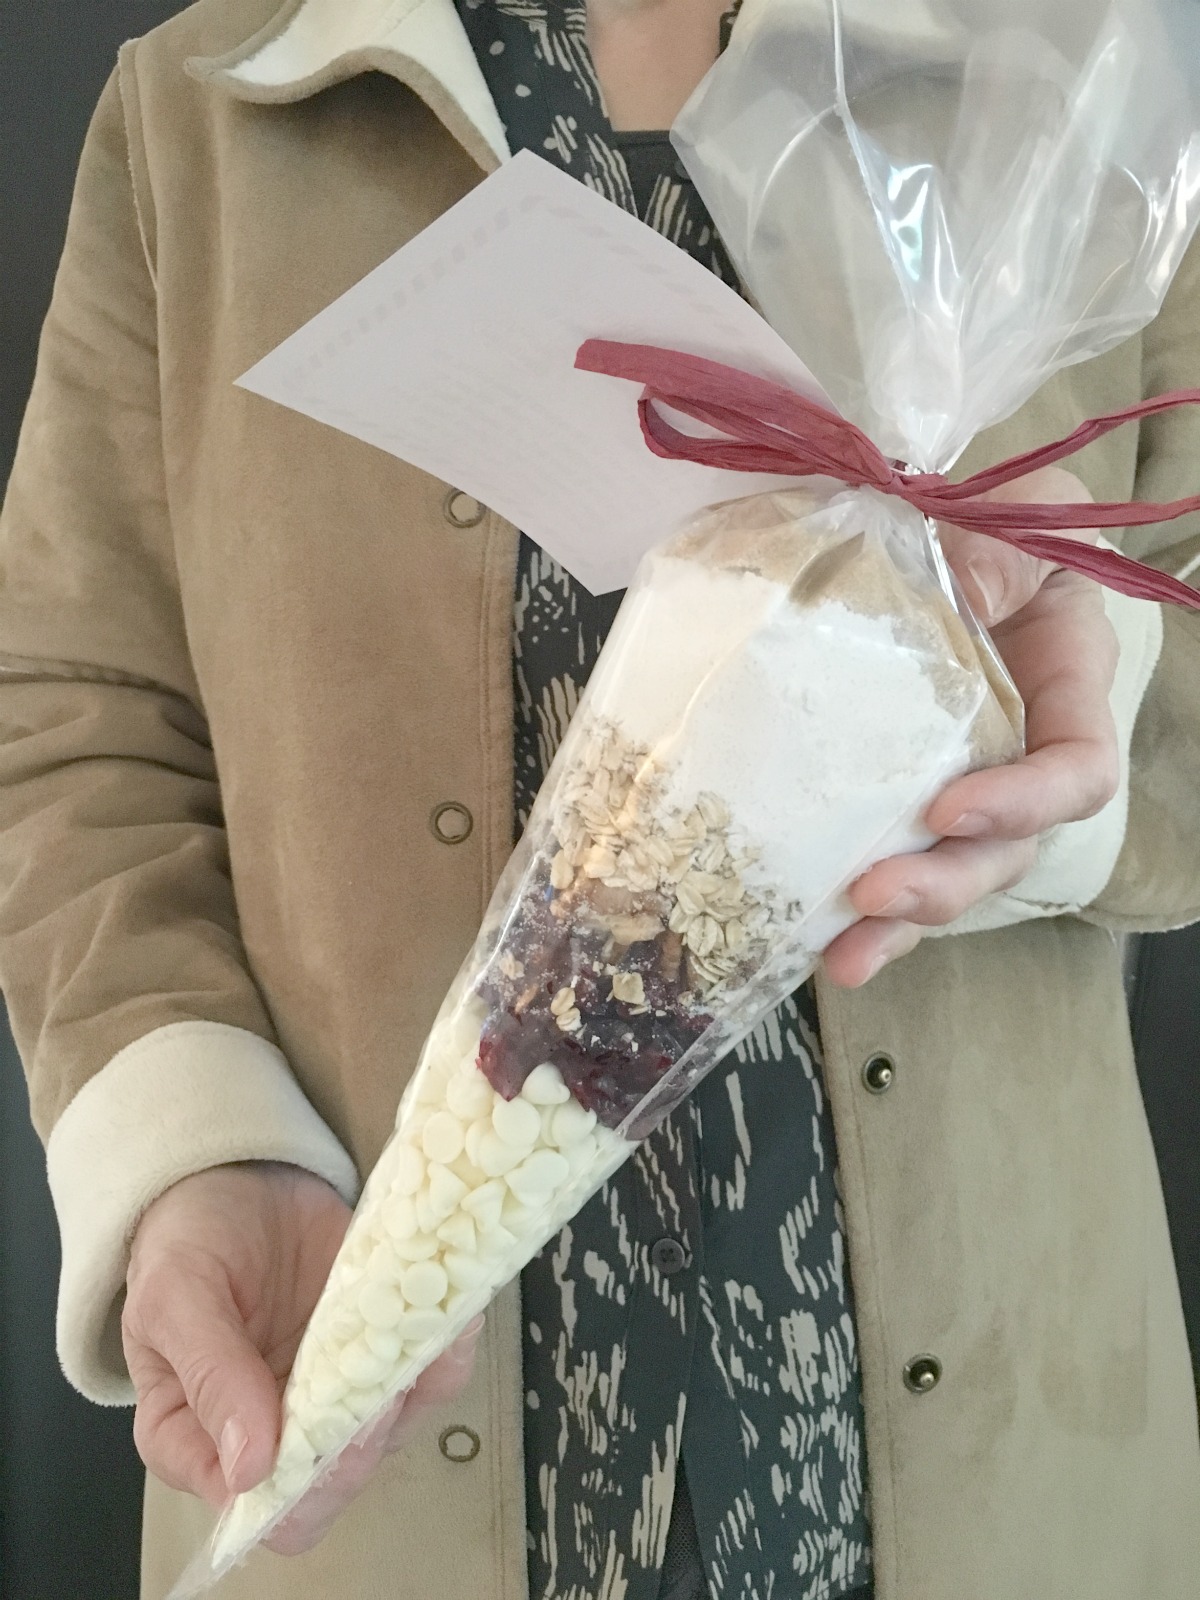
I posted this picture of my annual cookie mix marathon on Instagram yesterday and had so many requests for the recipe that I decided the best way to provide that would be in a blog post with instructions...so, here ya go!
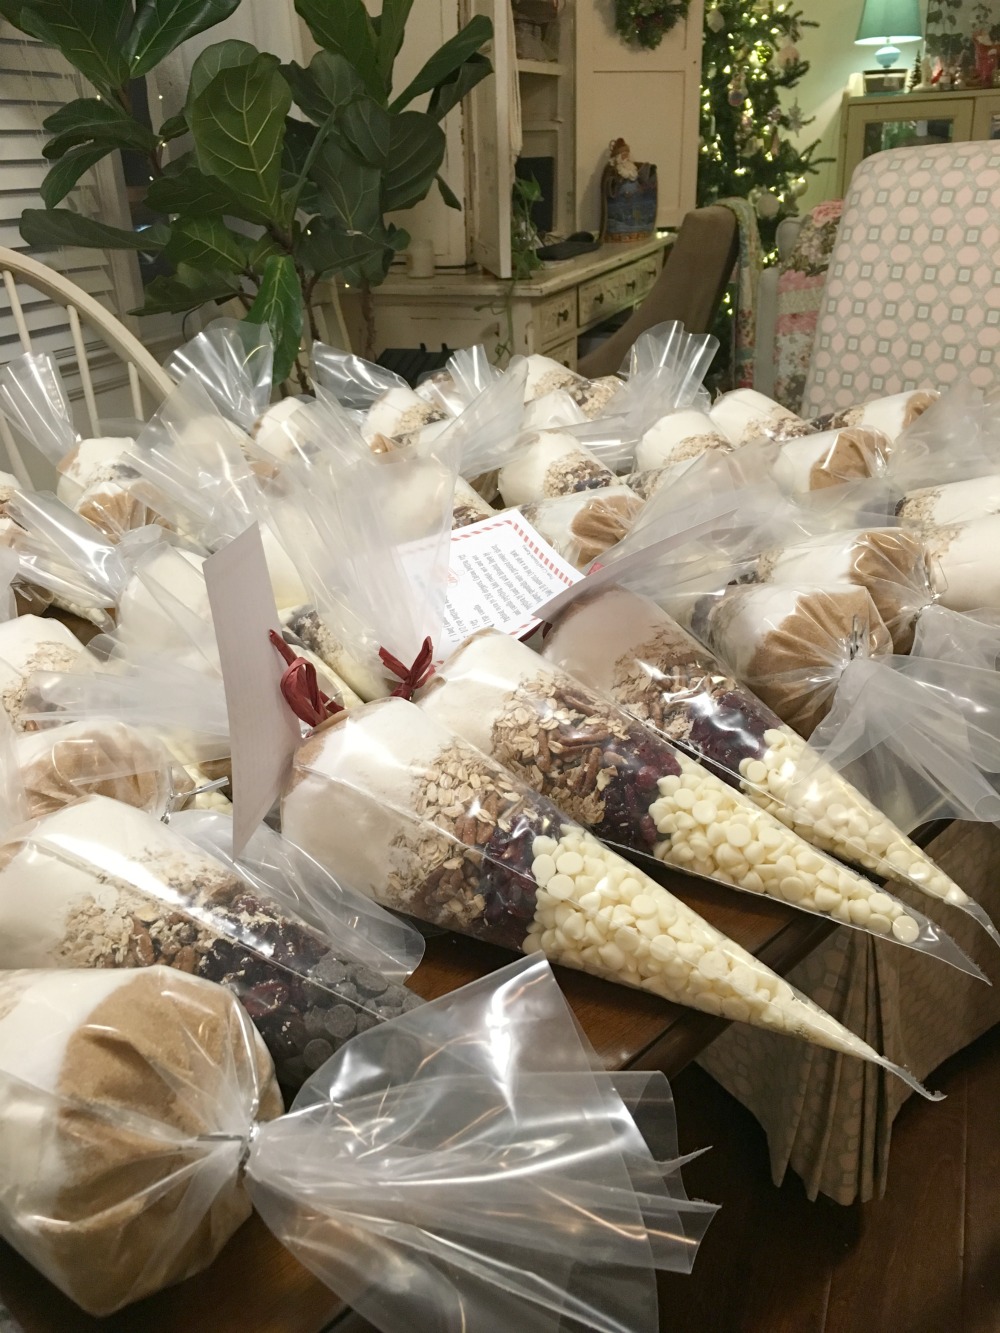
I love to make these in bulk to give away to folks around town that we appreciate all year (my hairdresser, the mailman, the post office counter employees, dentist office, etc.) They also make great hostess gifts and family treats at get-togethers . You've probably seen similar things given in glass jars, but I think the cone shaped bags look more festive and Christmas-y, like an icicle hanging from Santa's sleigh!
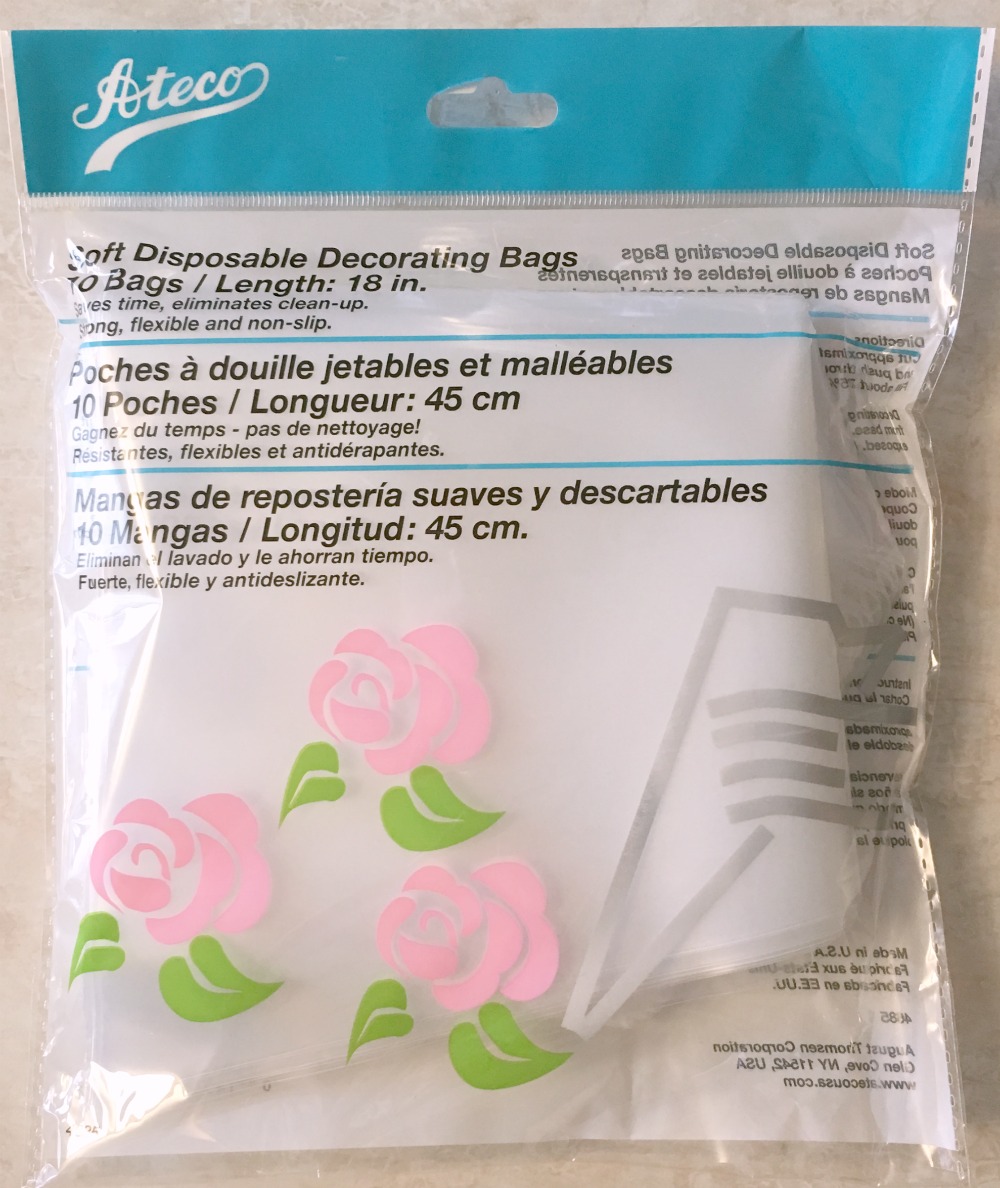
I pack the mixes in this 18" disposable piping bag, actually made for icing. I've tried the 17" bags (made by a different company), but they aren't as wide and will not hold the recipe. These can be found at kitchen stores like Kitchen Collection, or maybe your local kitchen supply store. While Wal-mart and Michael's carry cake decorating supplies, they only stock the 12" bags.
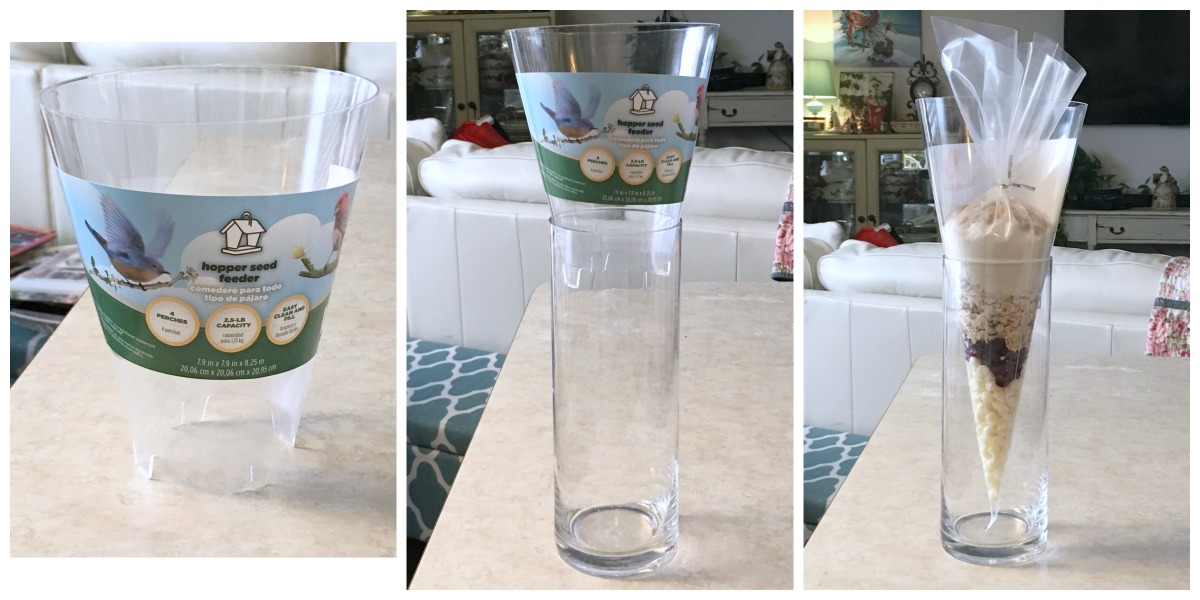
I have a piping bag support. Somewhere. We've moved twice and I've bought it twice and they are both packed away...so my husband came to the rescue and made one for me, and his version actually works better than the real thing! He went to Lowe's and found a bird feeder, made by Garden Treasures, for $6 that has a removable top shaped like a cone! It just fit inside a 10" vase, making the perfect height. The goal is that the last layer of brown sugar is supported firmly for packing.
The recipe: (see below for vegan version)
- 1/2 cut white or milk chocolate chips
- 1/2 cup dried sweetened cranberries
- 1/2 cup nuts
- 1/2 cup oats
- 1/2 teaspoon each soda and salt
- 1 & 1/8 cup all-purpose flour
- 1/3 cup sugar
- 1/3 cup packed brown sugar (I just put in a heaping 1/3 cup)
I usually make about 50 bags, so working assembly line fashion with large bowls is the most efficient method for packing. Using actual size measuring cups as scoops also helps. Layer the ingredients in the bag in the order given above. Shake gently to settle after each addition. With the bag in a stand, pack the brown sugar firmly (the bottom of a glass works great). If you change the order of ingredients, be sure to keep the brown sugar last (on top) because packing it helps to hold everything else in place nicely. Twist the top and close with a twist tie. (I found shiny metal ones at Michael's. A red or green chenille stick would also work great.)
Attach baking instructions and your Christmas sentiments with a ribbon to the bag. These could be printed on a sticker and applied to the side of the bag:
Cranberry Kringles
- 1 bag Cranberry Kringles Mix
- 1/2 cup butter or margarine
- 1 egg
- 1 tsp. vanilla
Mix all ingredients by hand. Drop by spoonfulls onto parchment lined baking sheet. Bake at 350º for 8-10 minutes. Cool on wire rack.
I had to make a few vegan mixes for Bonnie, David, Bear and Ollie. It was simple by substituting vegan chocolate chips and changing the directions to include 1/2 cup Earth Balance and 1/3 cup apple sauce or egg re-placer. Bear thought they were beautiful and when Bonnie helped me with the last photo (above) he said, "Me want to hold it like a baby, too." So he did.

Enjoy making and giving this Christmas season! Thanks for stopping by and God bless! Maxie
